The Vapor Chamber Part 2: The Buildening
If you came from the previous part, THANK YOU! I enjoy writing and I hope you enjoyed reading. Here is the build list, as promised, front and center.
Build List
Most parts purchased from Amazon but the three I linked were particularly special
| Part | Make and Model | More |
|---|---|---|
| Mobo | MSI MPG B850I Edge TI (White) | |
| CPU | AMD Ryzen 5 9600X | |
| CPU Cooler | Thermalright AXP90-X53 Low Profile ITX (White) | |
| GPU | ASUS Dual Radeon RX 9060 XT 16GB (White) | |
| SSD | SUNEAST 1TB NVMe | |
| RAM | Crucial Pro DDR5 32GB kit 6400MHz (White) | |
| PSU | Cooler Master V850 SFX Gold ITX (White) | |
| Case | KXRORS S300 Gaming Case ITX (White) | Amazon Link |
| GPU Riser | LINKUP PCIE 5.0 Riser Cable (White) | Amazon Link |
| Controller | 8BitDO Ultimate 2 Wireless Controller | Amazon Link |
The actual buildening
We find ourselves on a Friday night with the whole weekend ahead of us to assemble this thing. I laid out all my parts and took a few photos:
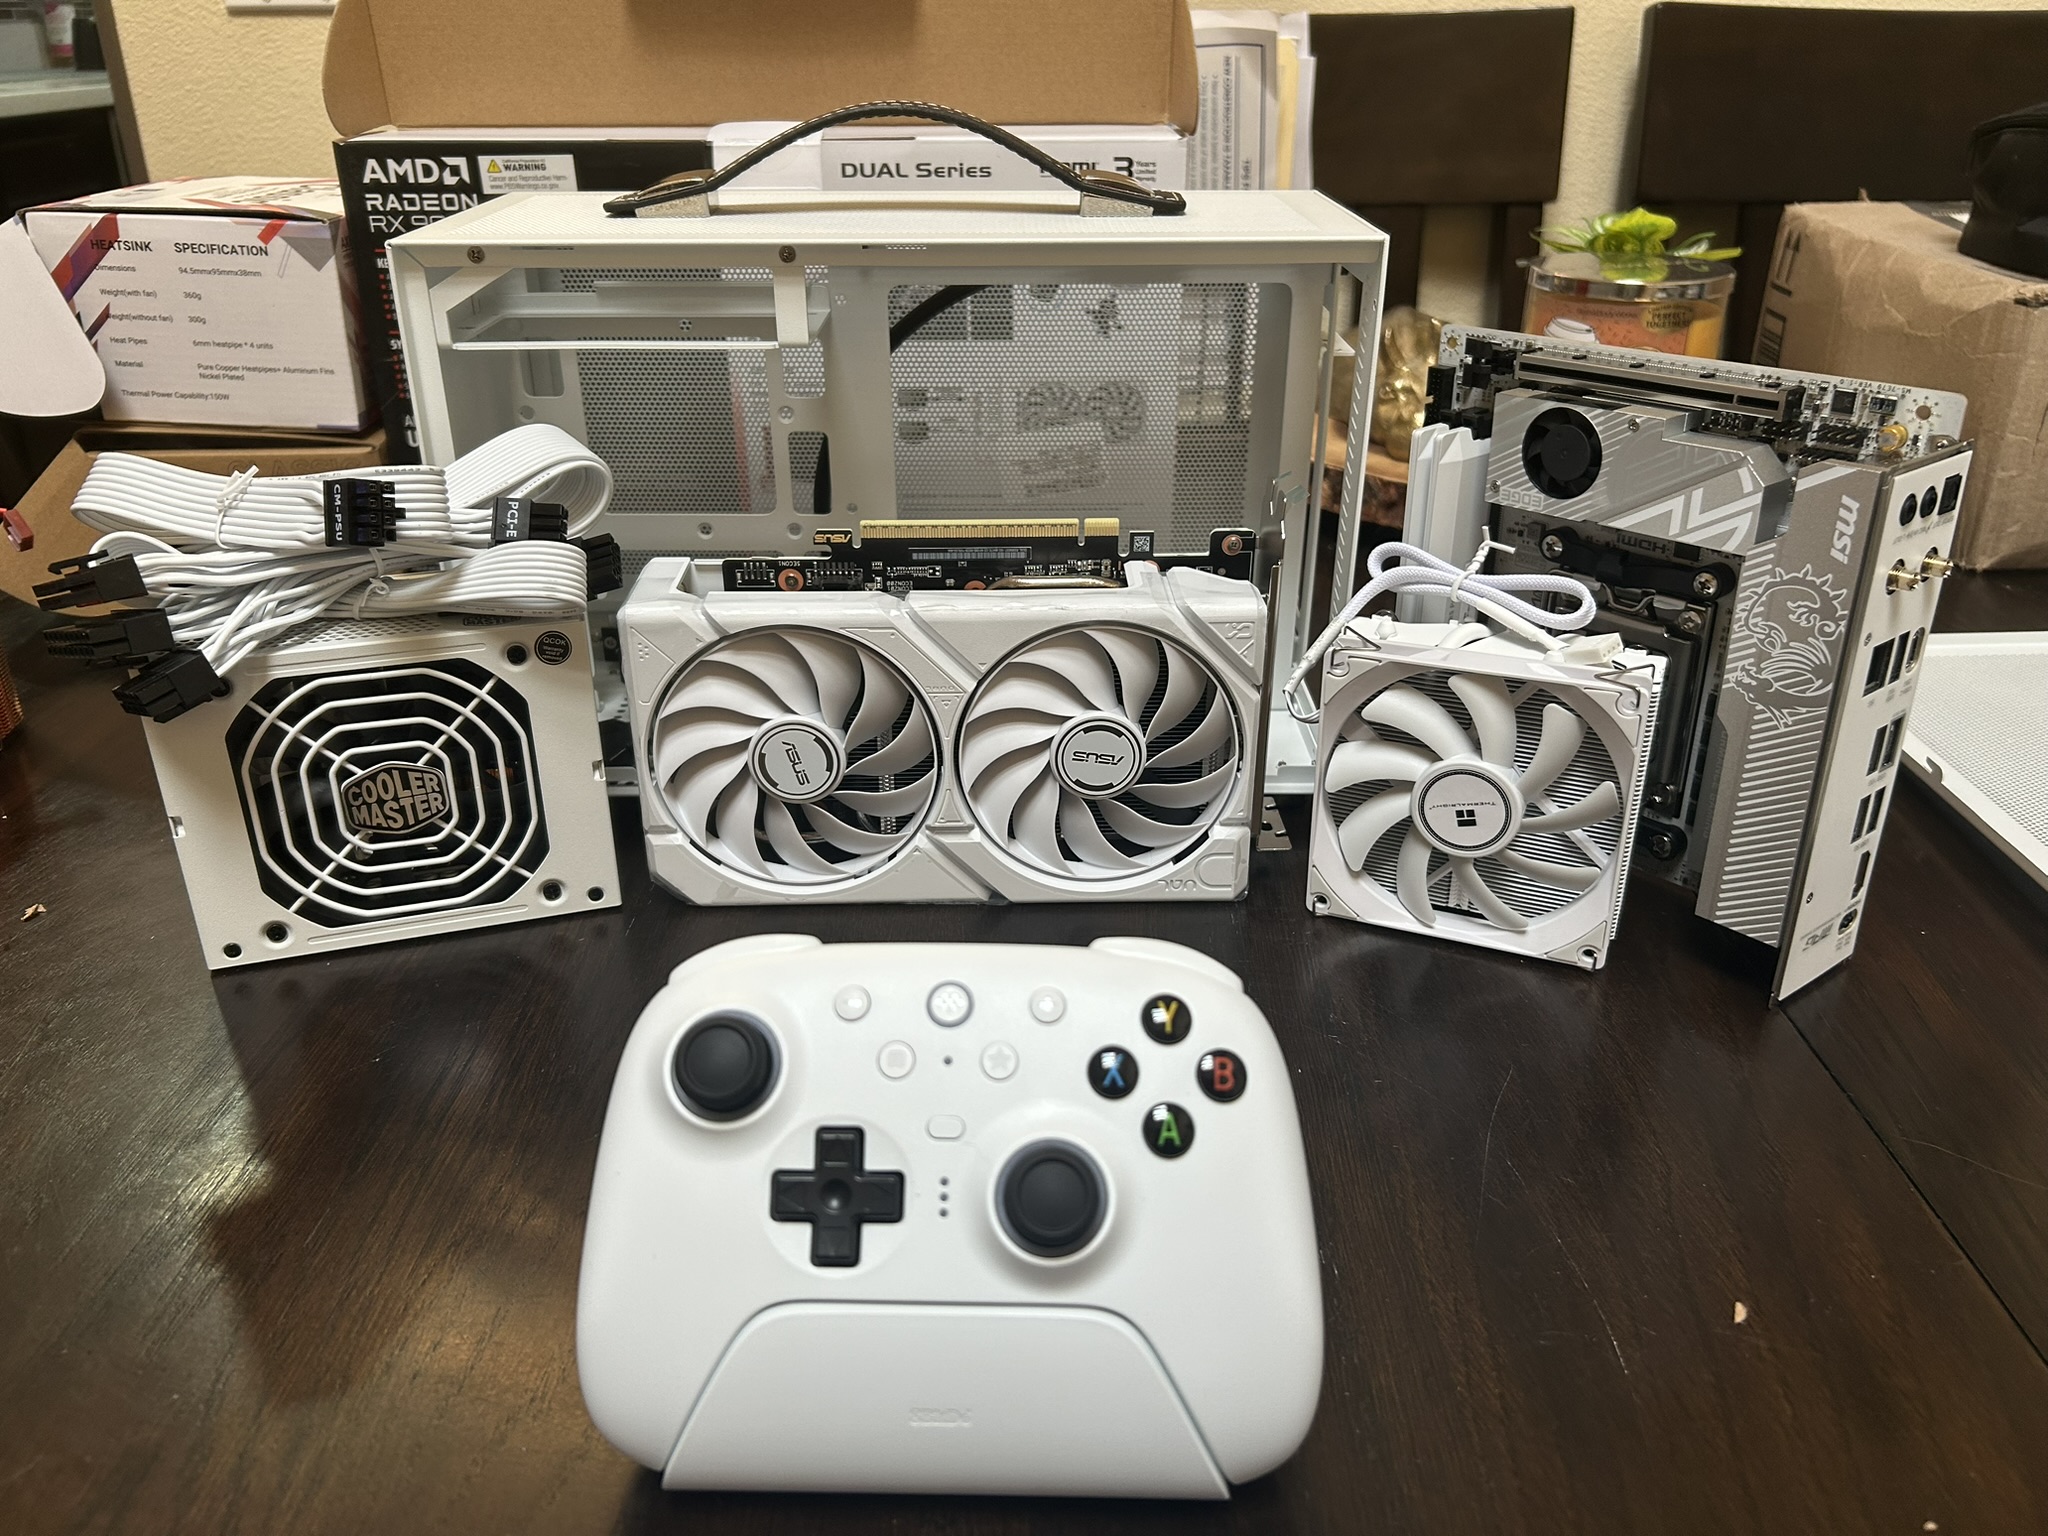
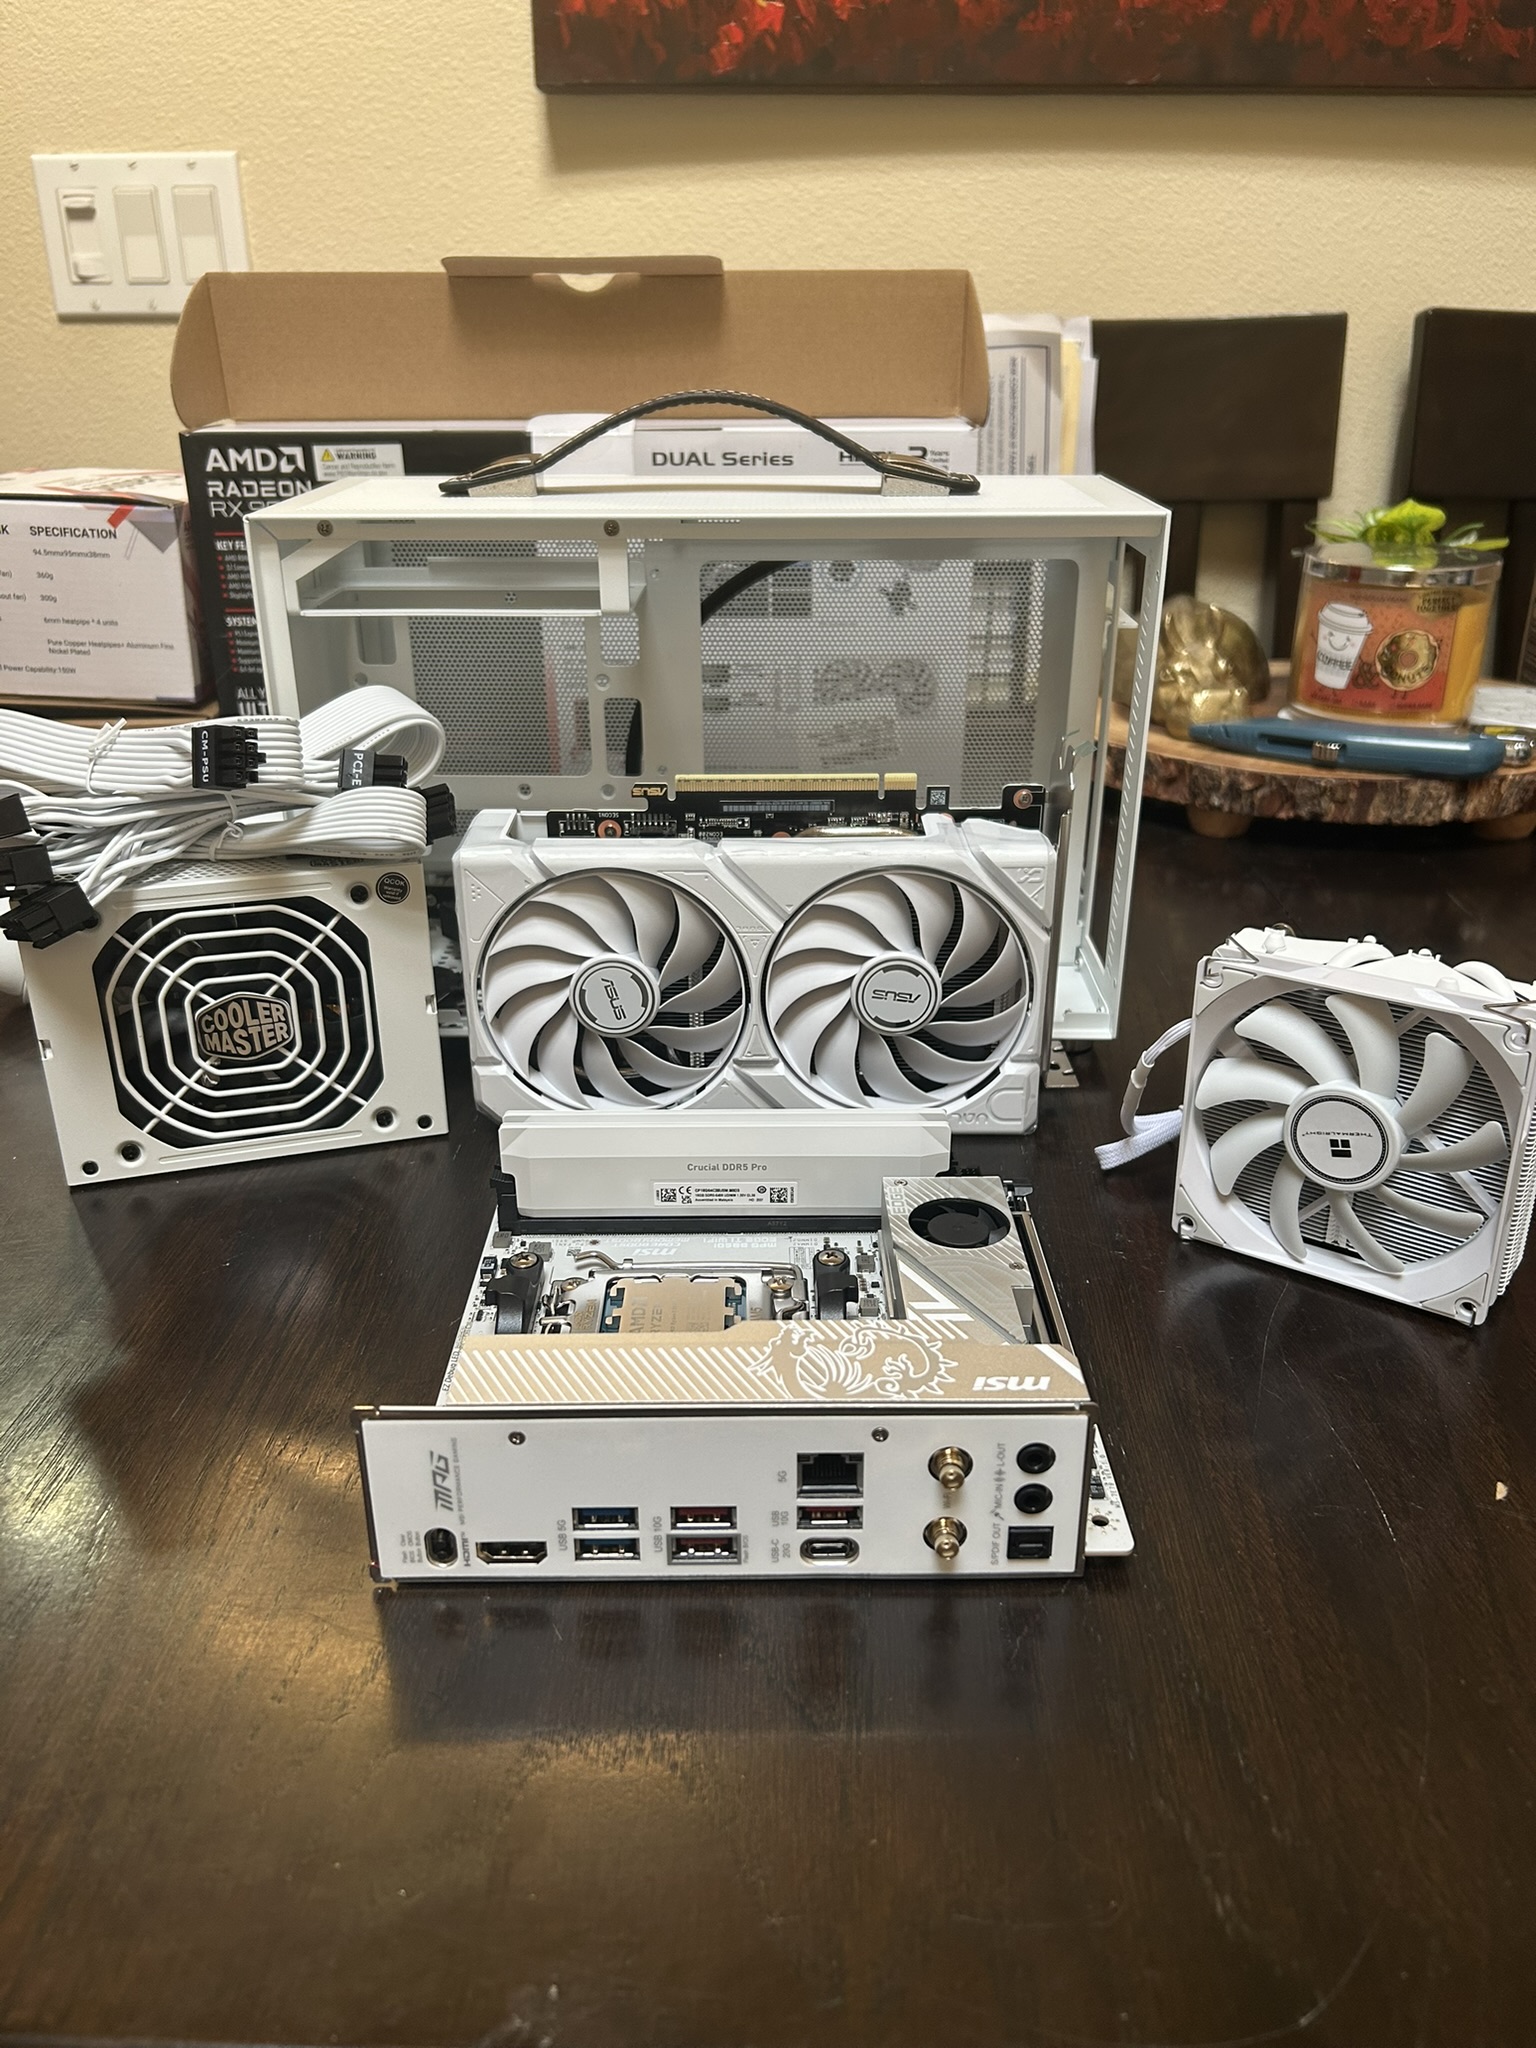
Then I got to work. Assembling PCs is easy to me — I’ve done it about a dozen times, ever since I learned how to in high school, with Windows ME (can confirm: it sucked ass!). One thing I didn’t consider when building a small form factor / ITX machine was that every thing was tight. Pulled a fan cable across something hot accidentally and then attached the board? Disassemble. PSU cable get shifted out of place and blocked the GPU from sitting right? Disassemble. Fully attach the PSU? Believe it or not, Disassemble. It reminds me of this all timer from Parks and Rec:

Eventually I got it to a early stage, where it started resembling something like a computer:
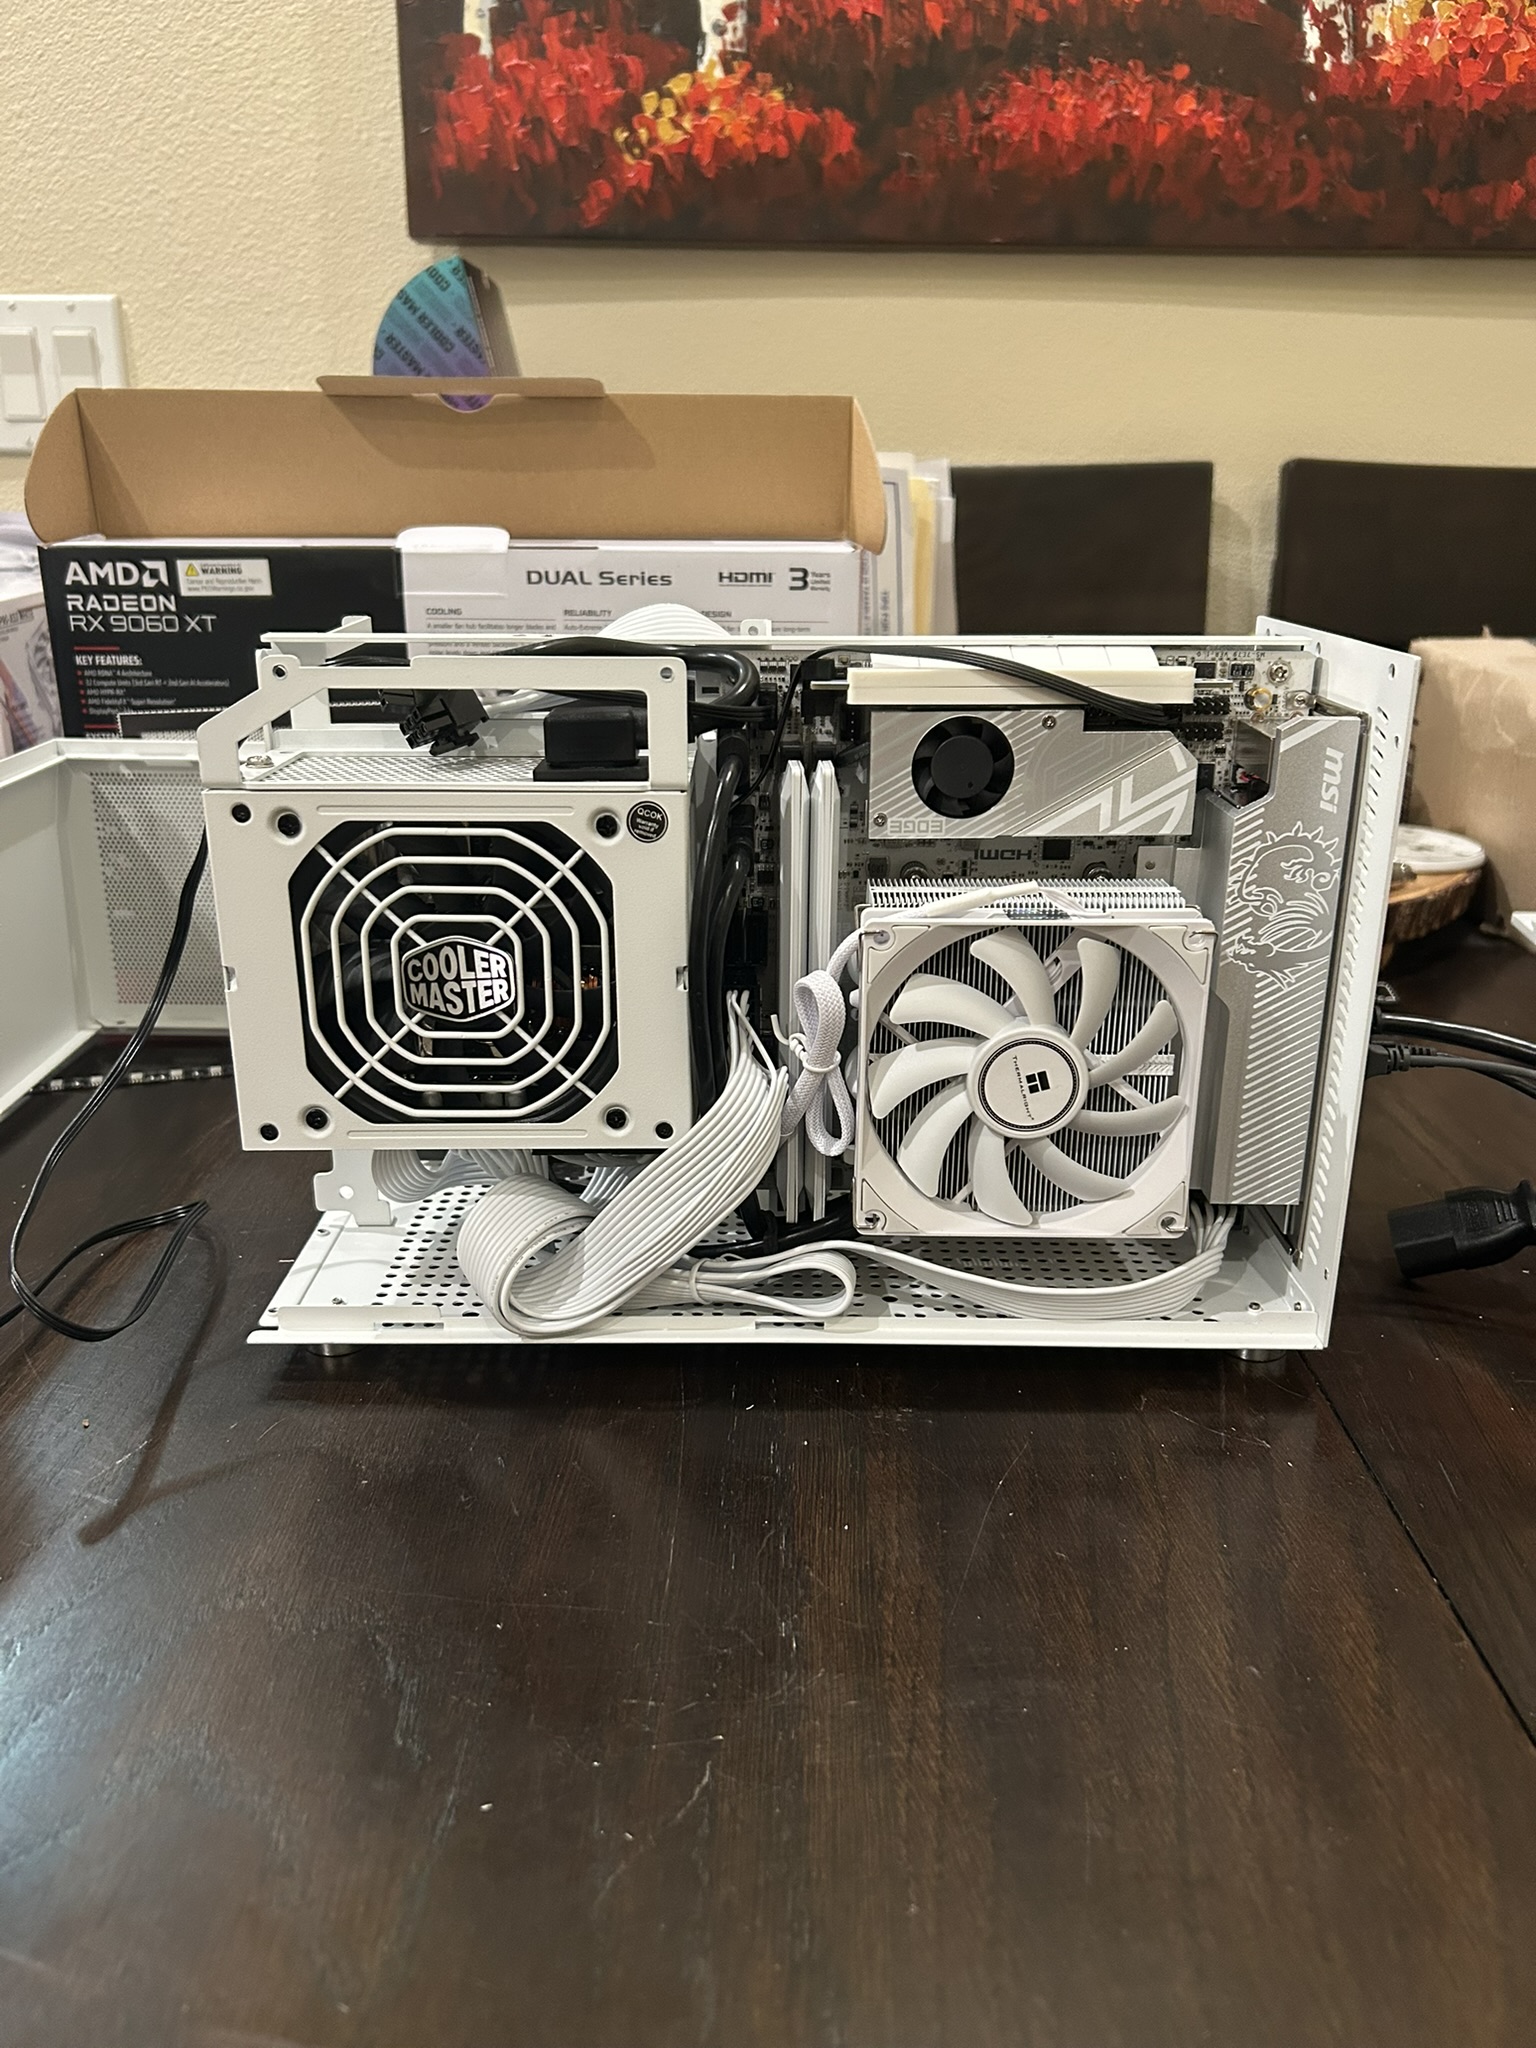
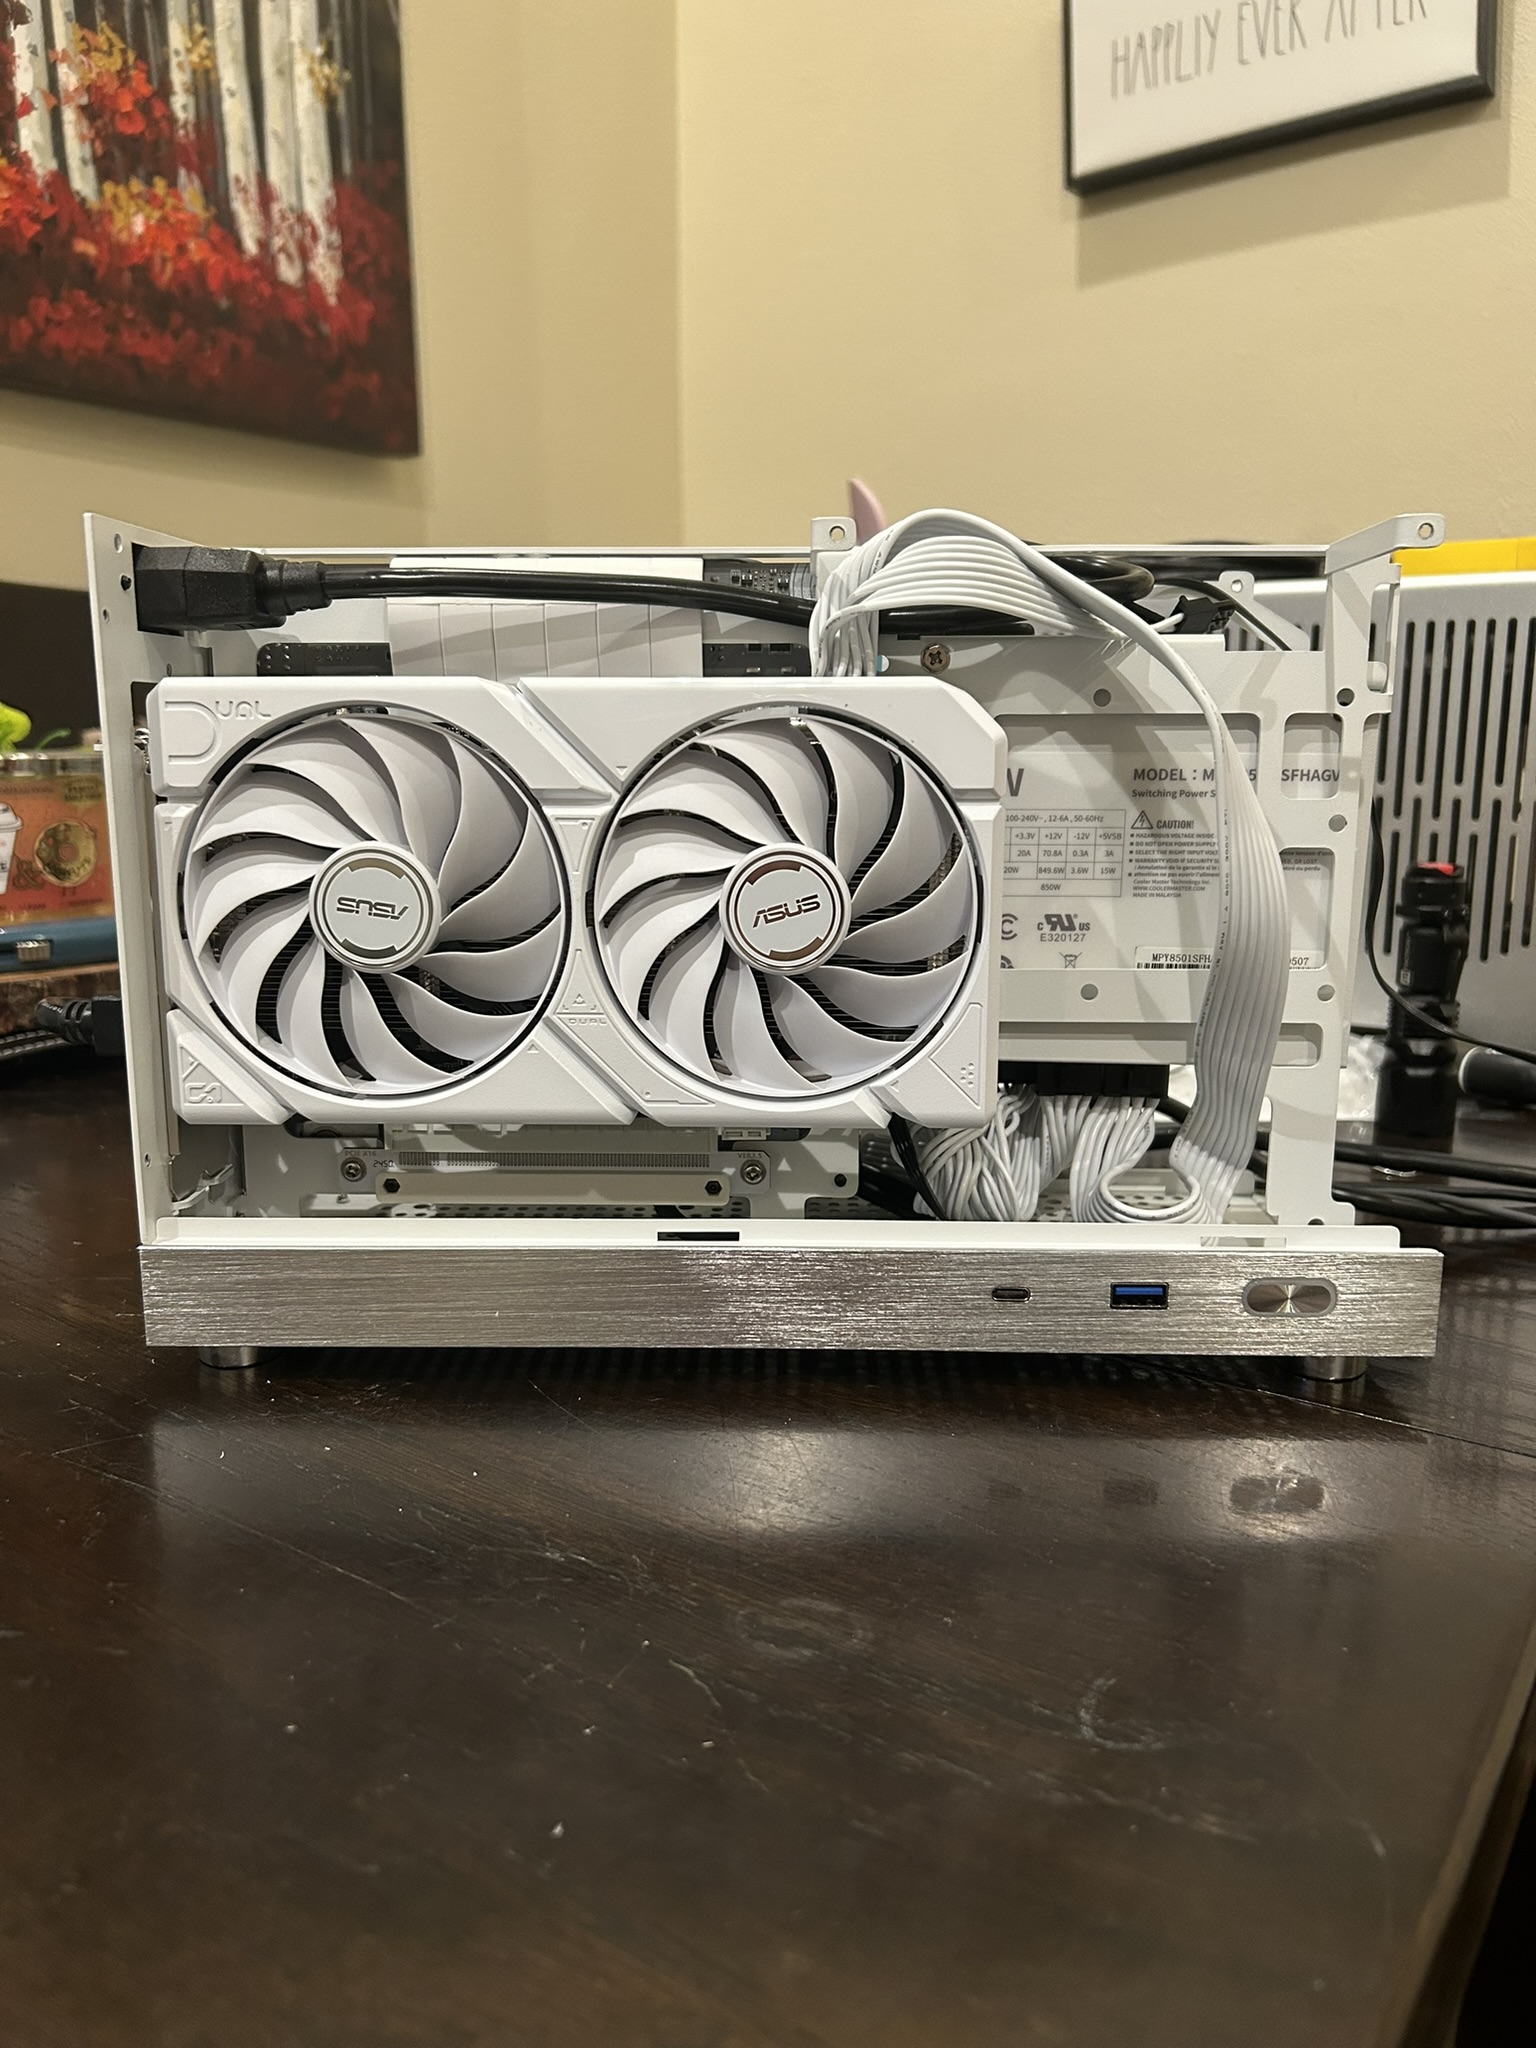
The white was looking pretty bad ass, even though I knew it might not show that great once the sides and back were on. One problem with this amazing case (seriously, its great. no /s here), is that to do anything in there required you to take off the sides, back and top. I didn’t even try the bottom and front. So. many. little. screws. This is definitely a case where once its good, you pray you never have to take it apart again (more on this later…).
Next I put the top on, which covered access to the GPU riser. A GPU riser is something that connects your mobo to your gpu when space or orientation is a factor. Like this build — notice in the second image above: the mobo is on one side, and the GPU is on the other, not connected directly! That’s because this case came with a riser cable to re-orient the GPU so it fit along the back of the mobo. Remember that the top is on now…
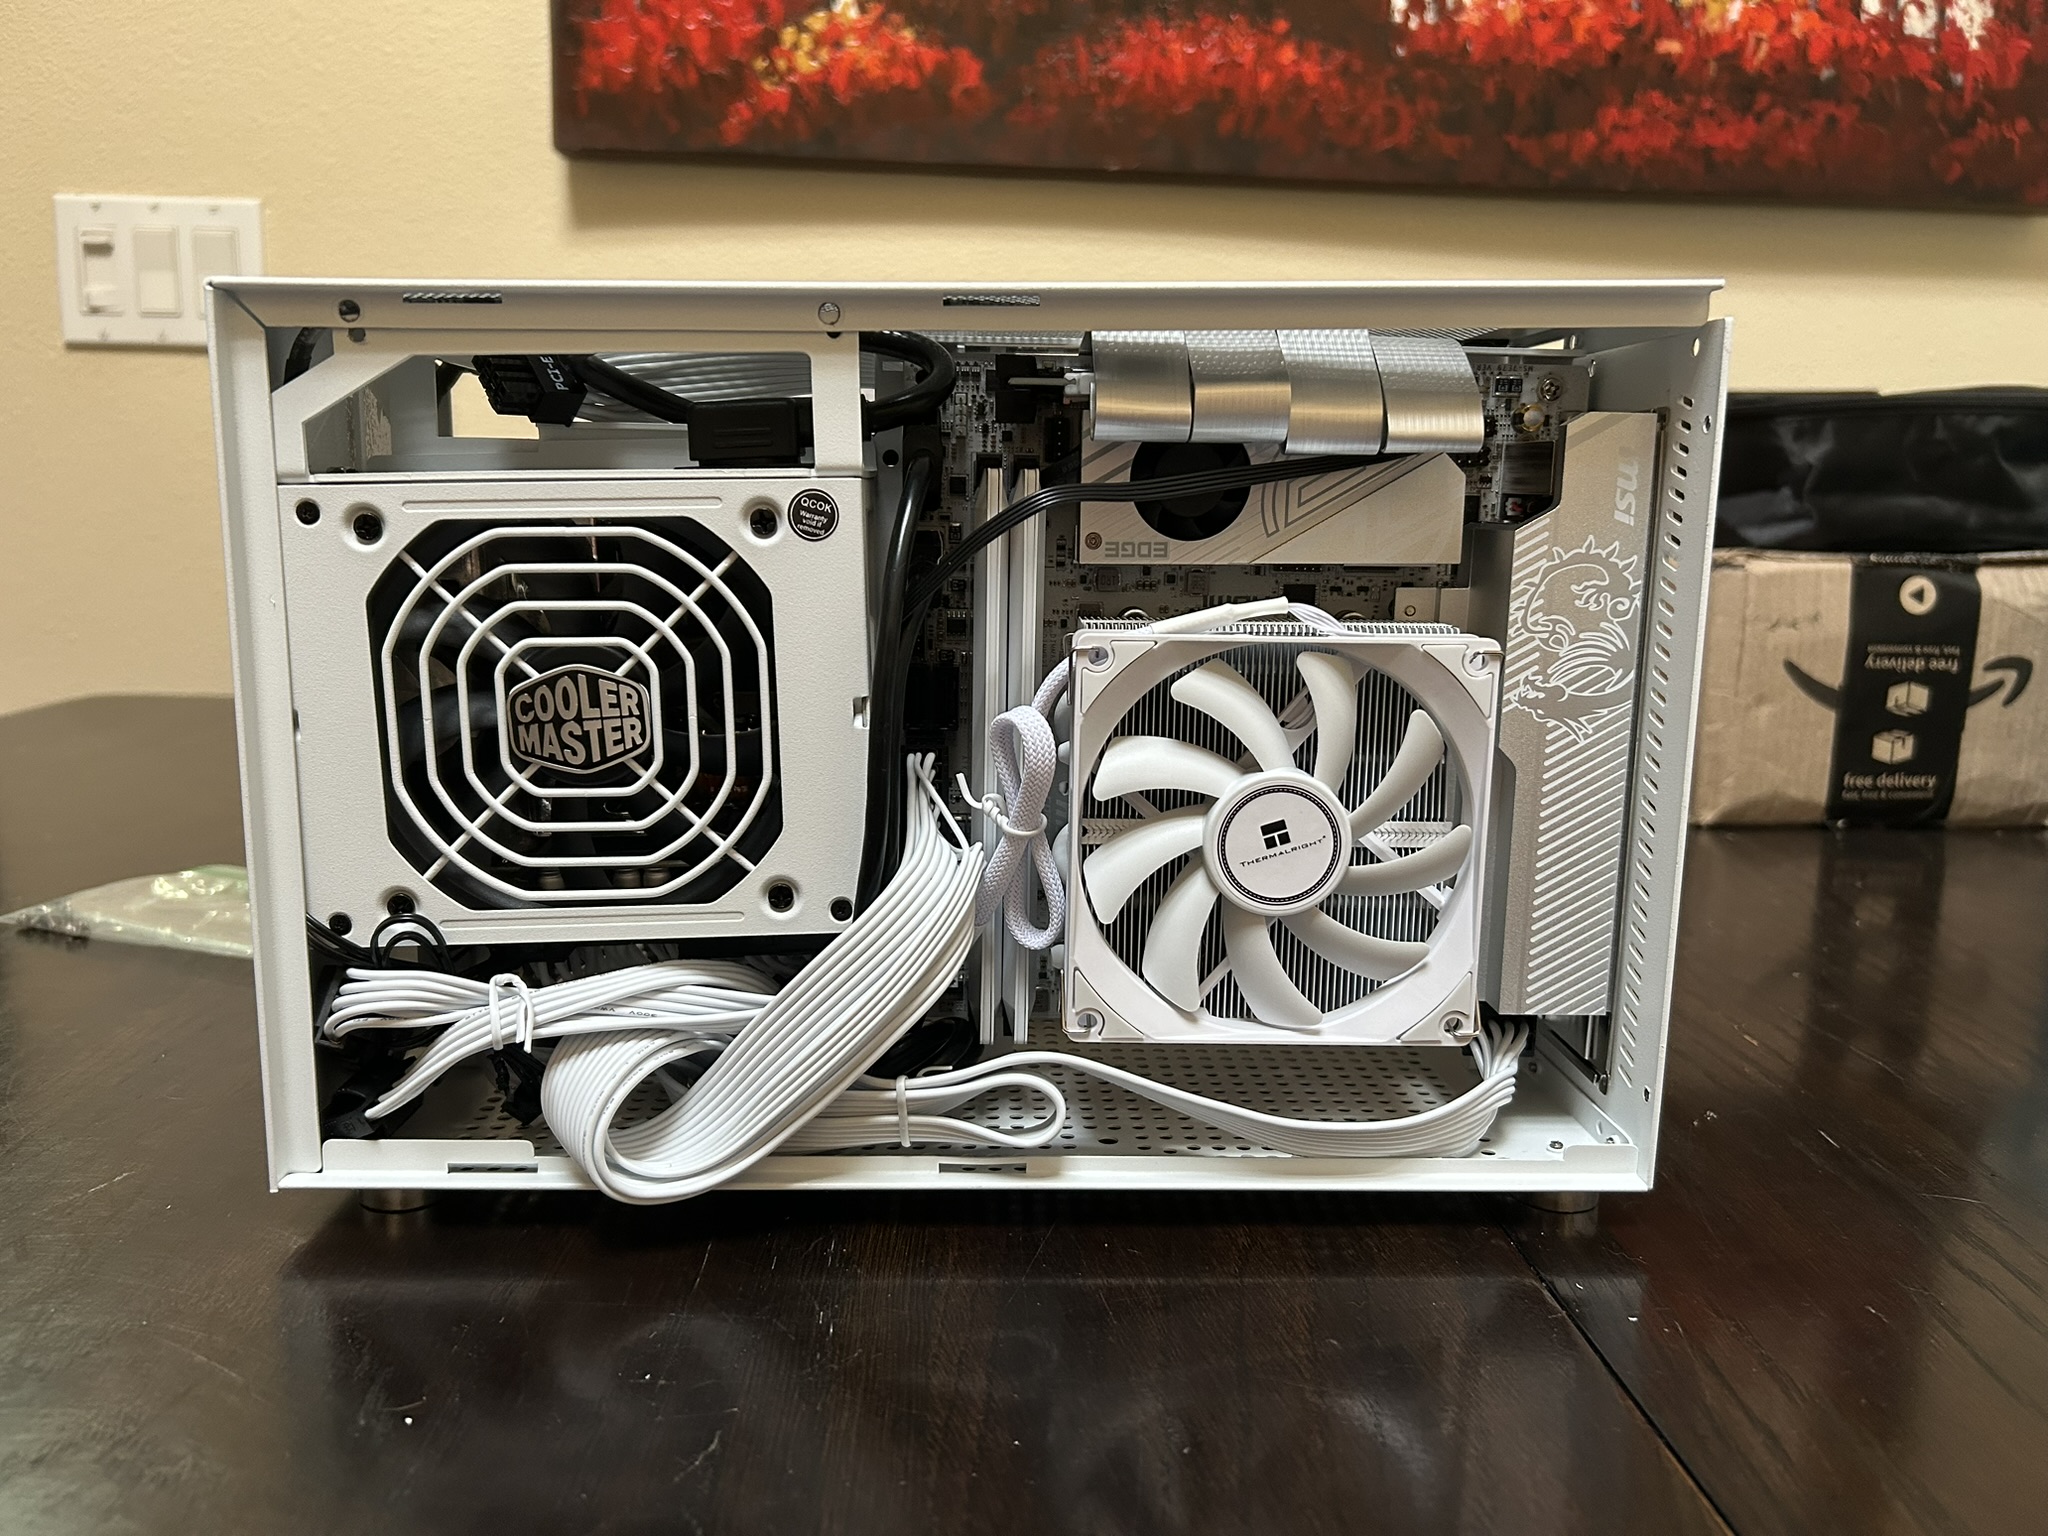
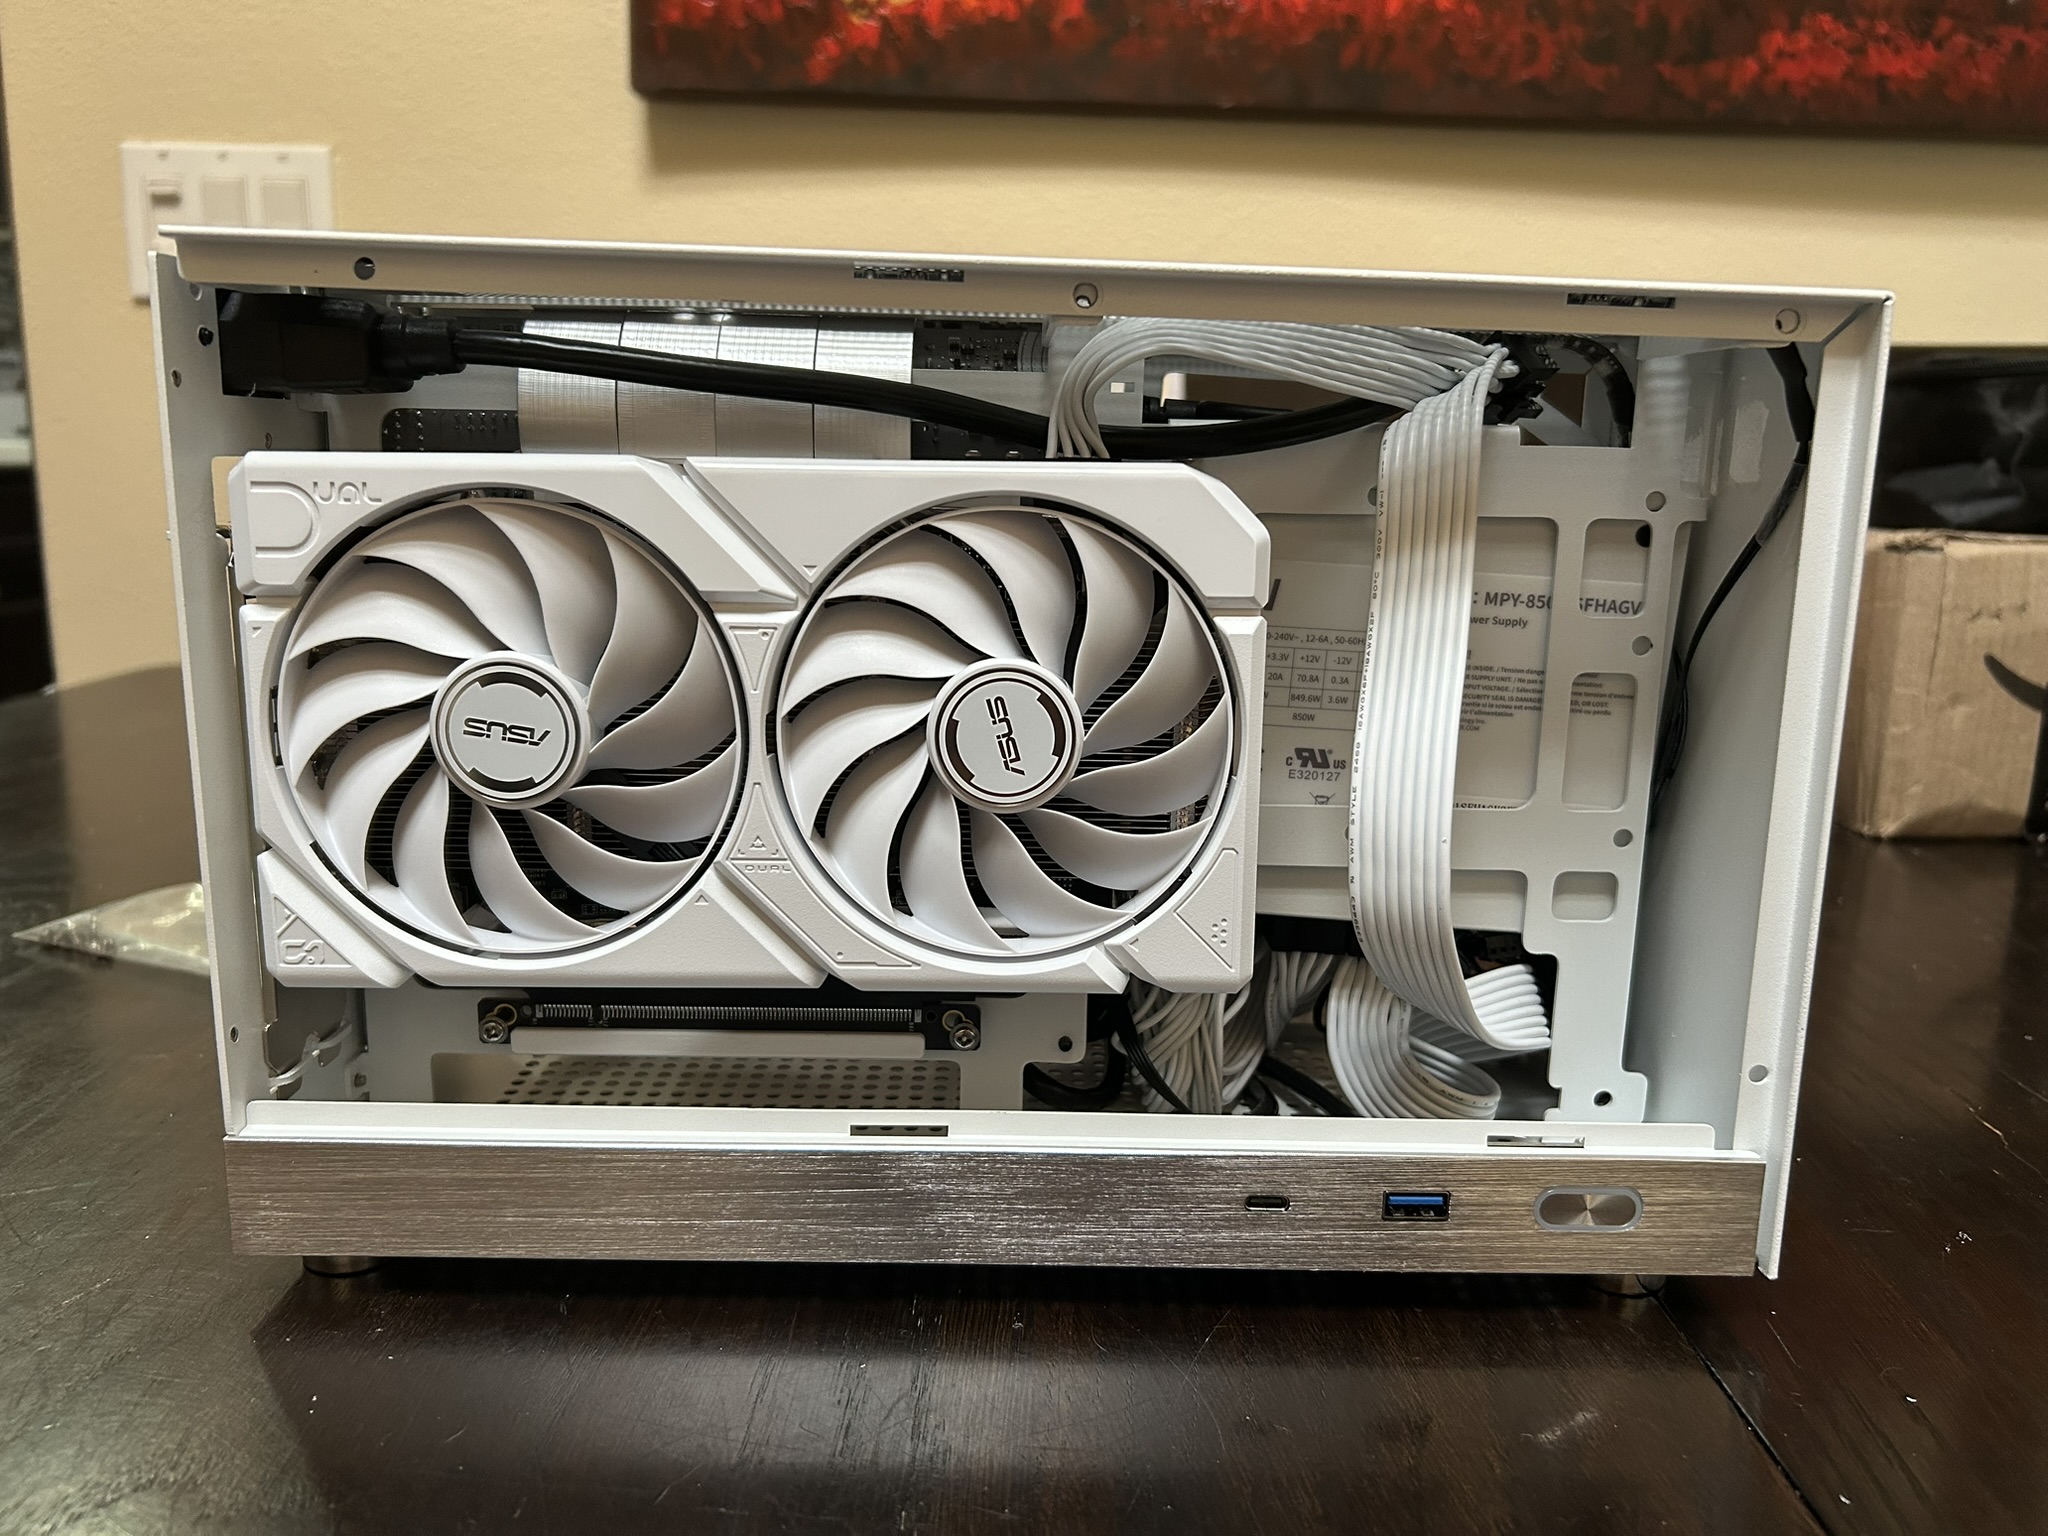
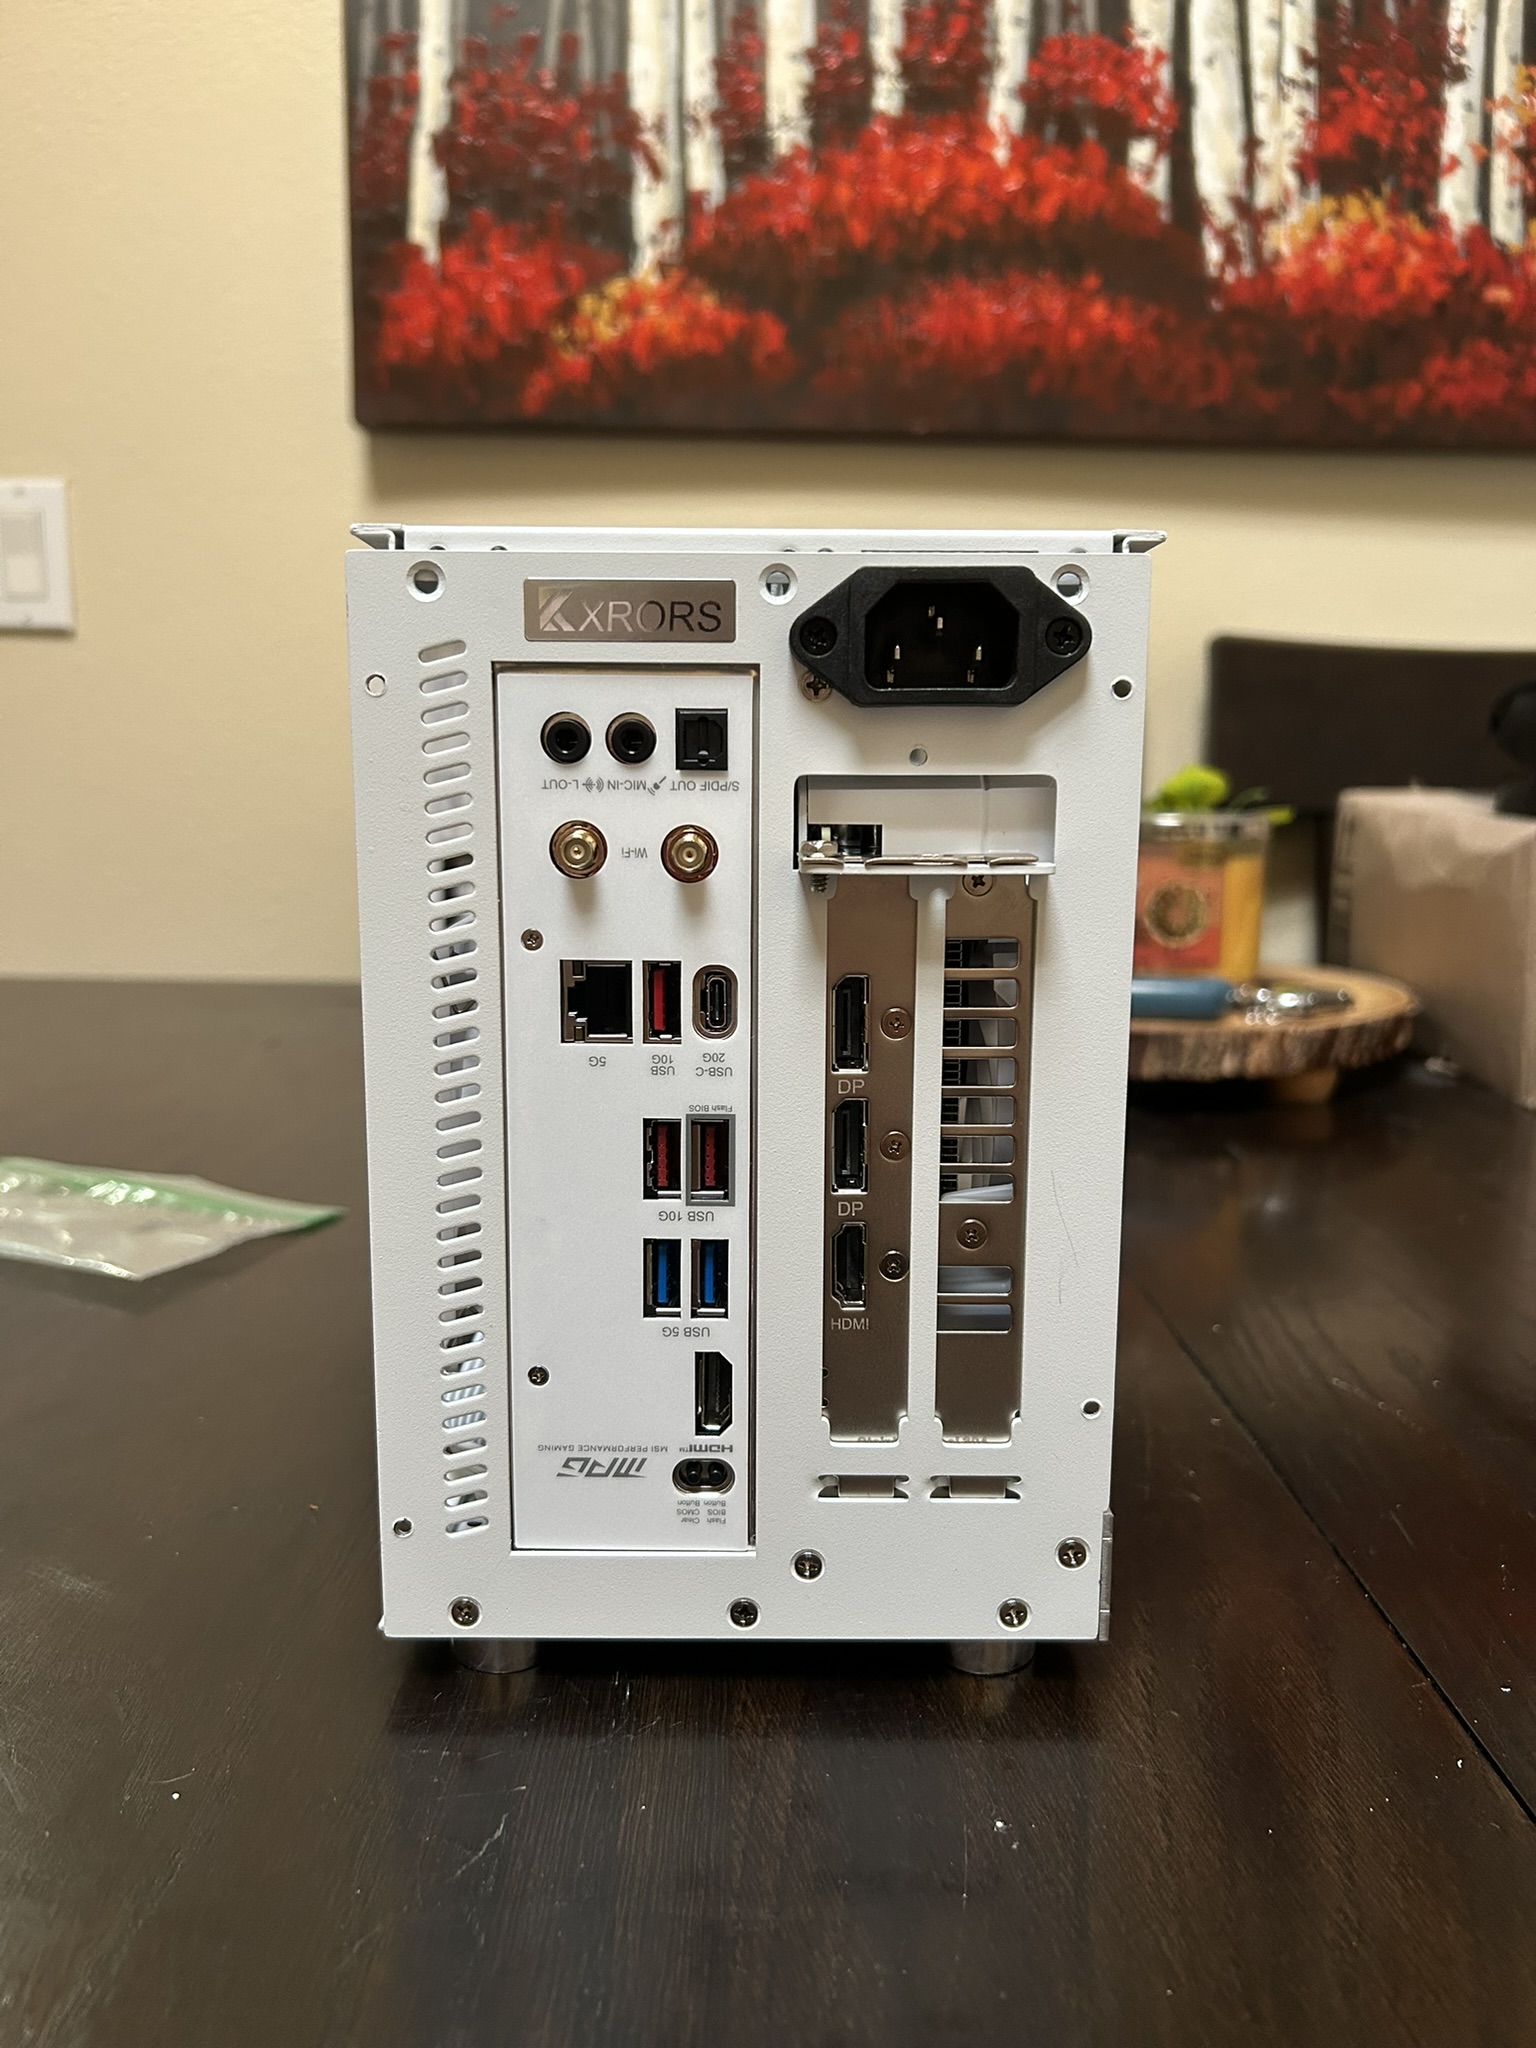
Note the upside down mobo back plate / panel. May be hard to tell unless you’ve worked on PCs before, but its upside down because the mobo had to be mounted to the middle of the case, not the side. Kinda funny in retrospect — I wonder if they made mobos that are flipped around for middle case mounting?
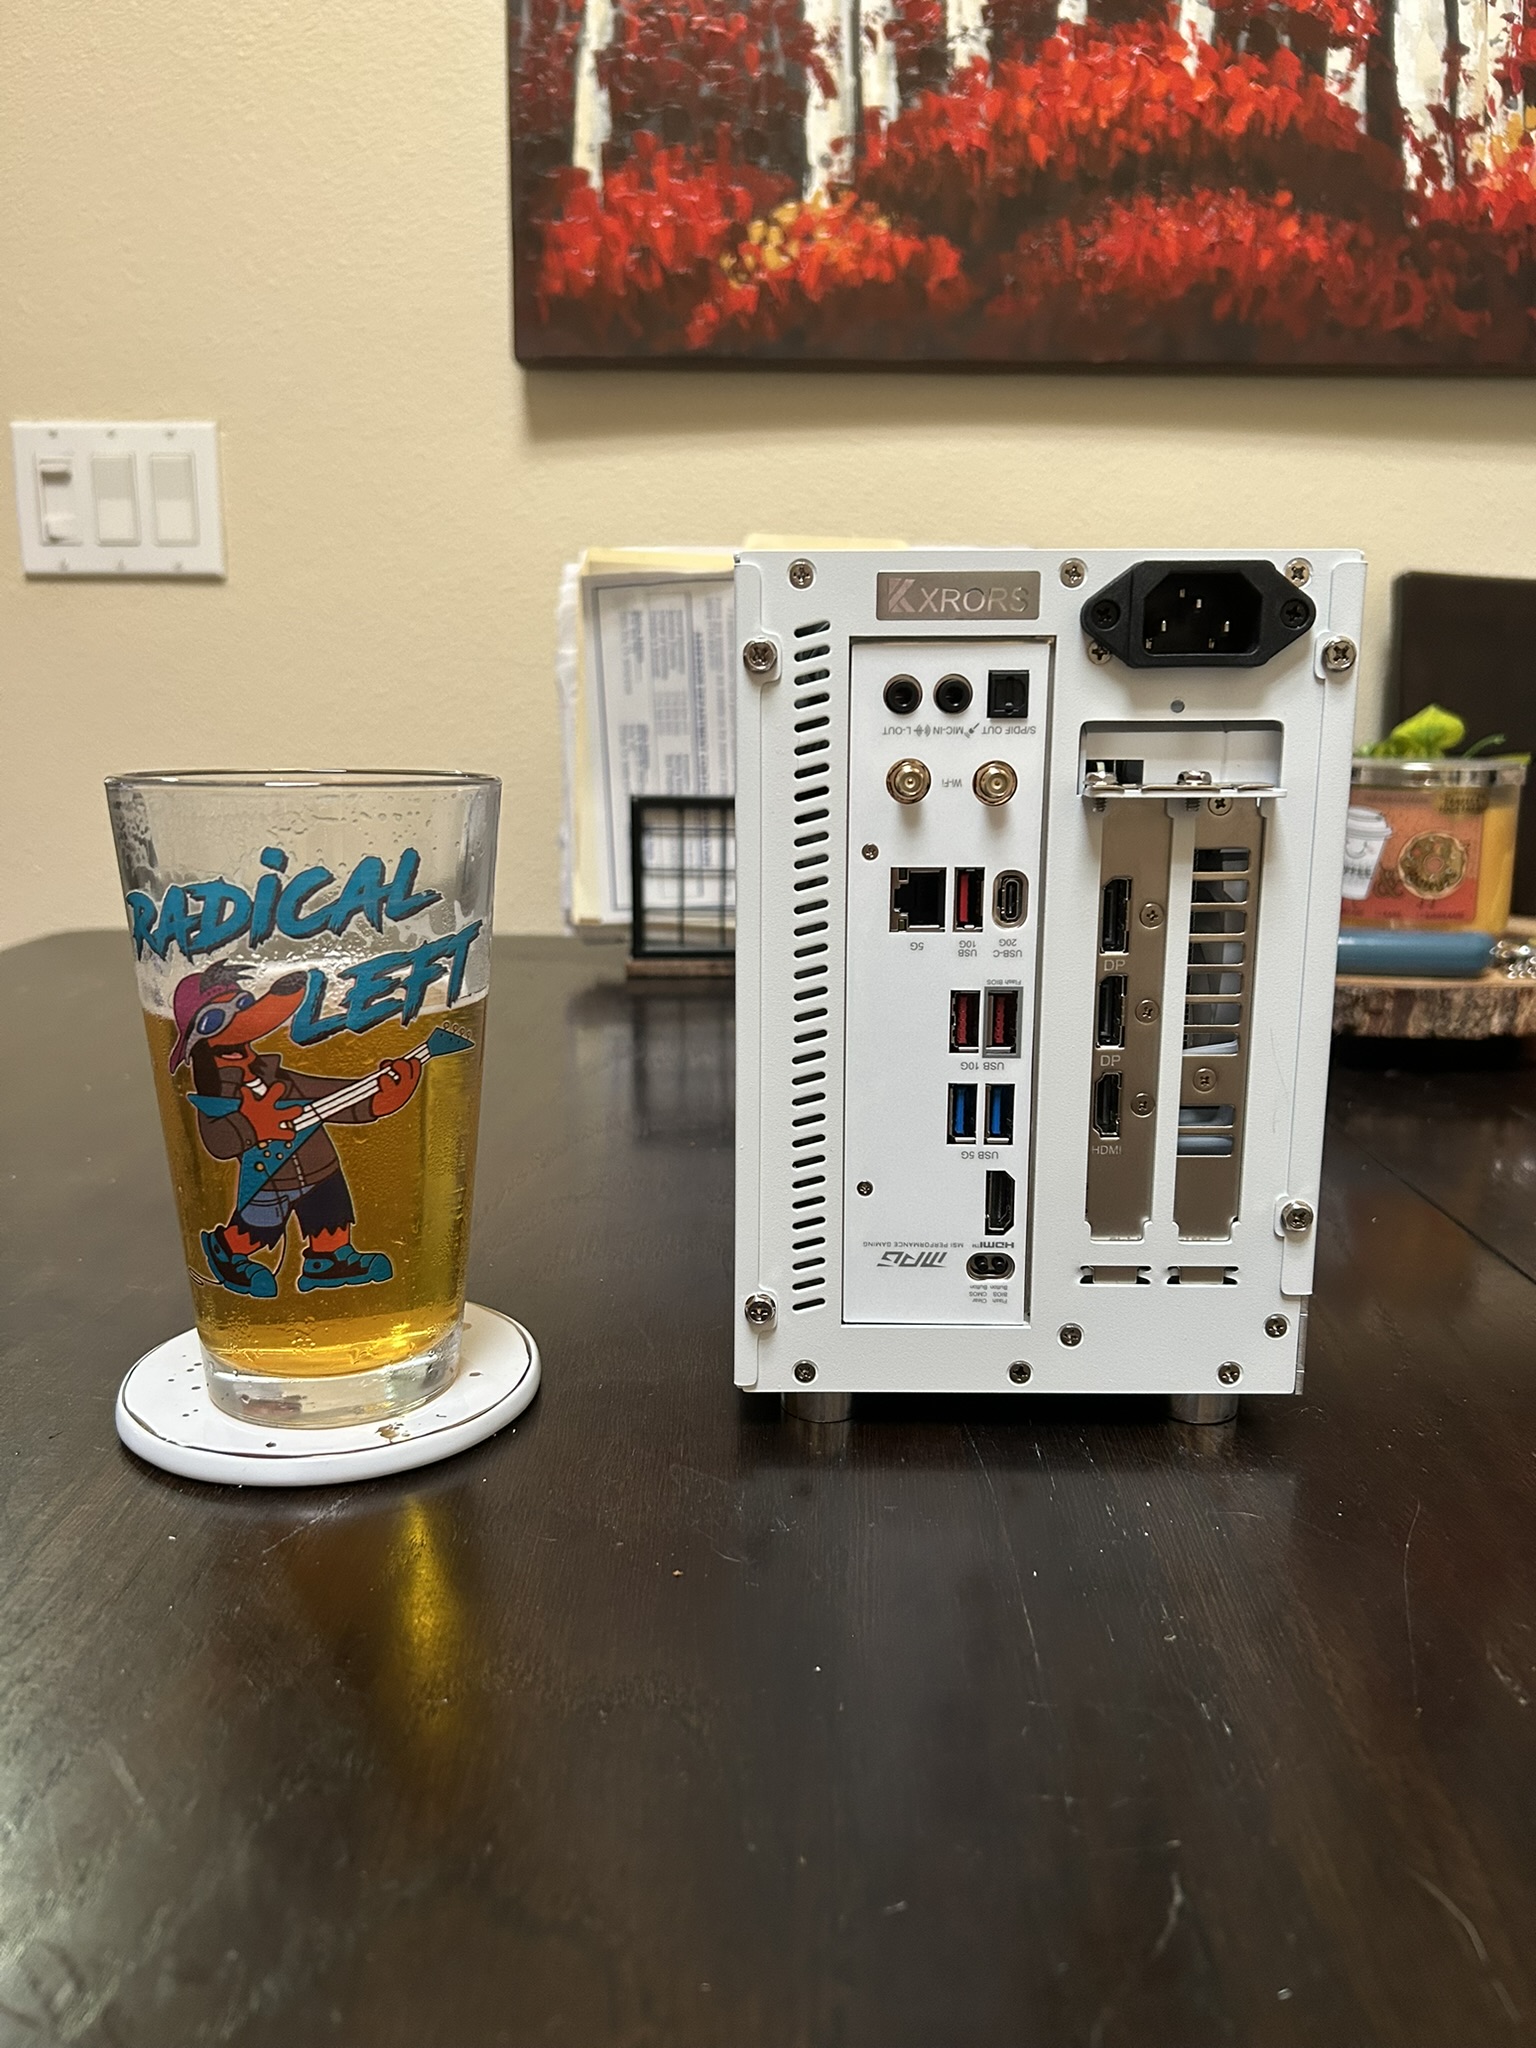
Anyways, now I just had to put on the sides and fire it up to see if it worked! I had two gorgeous models helping me too, please give a virtual pet to “Cream Cheese” and “Cookie Butter” :D I also included my favorite pint glass for scale… TO THE EXTREME!!!!
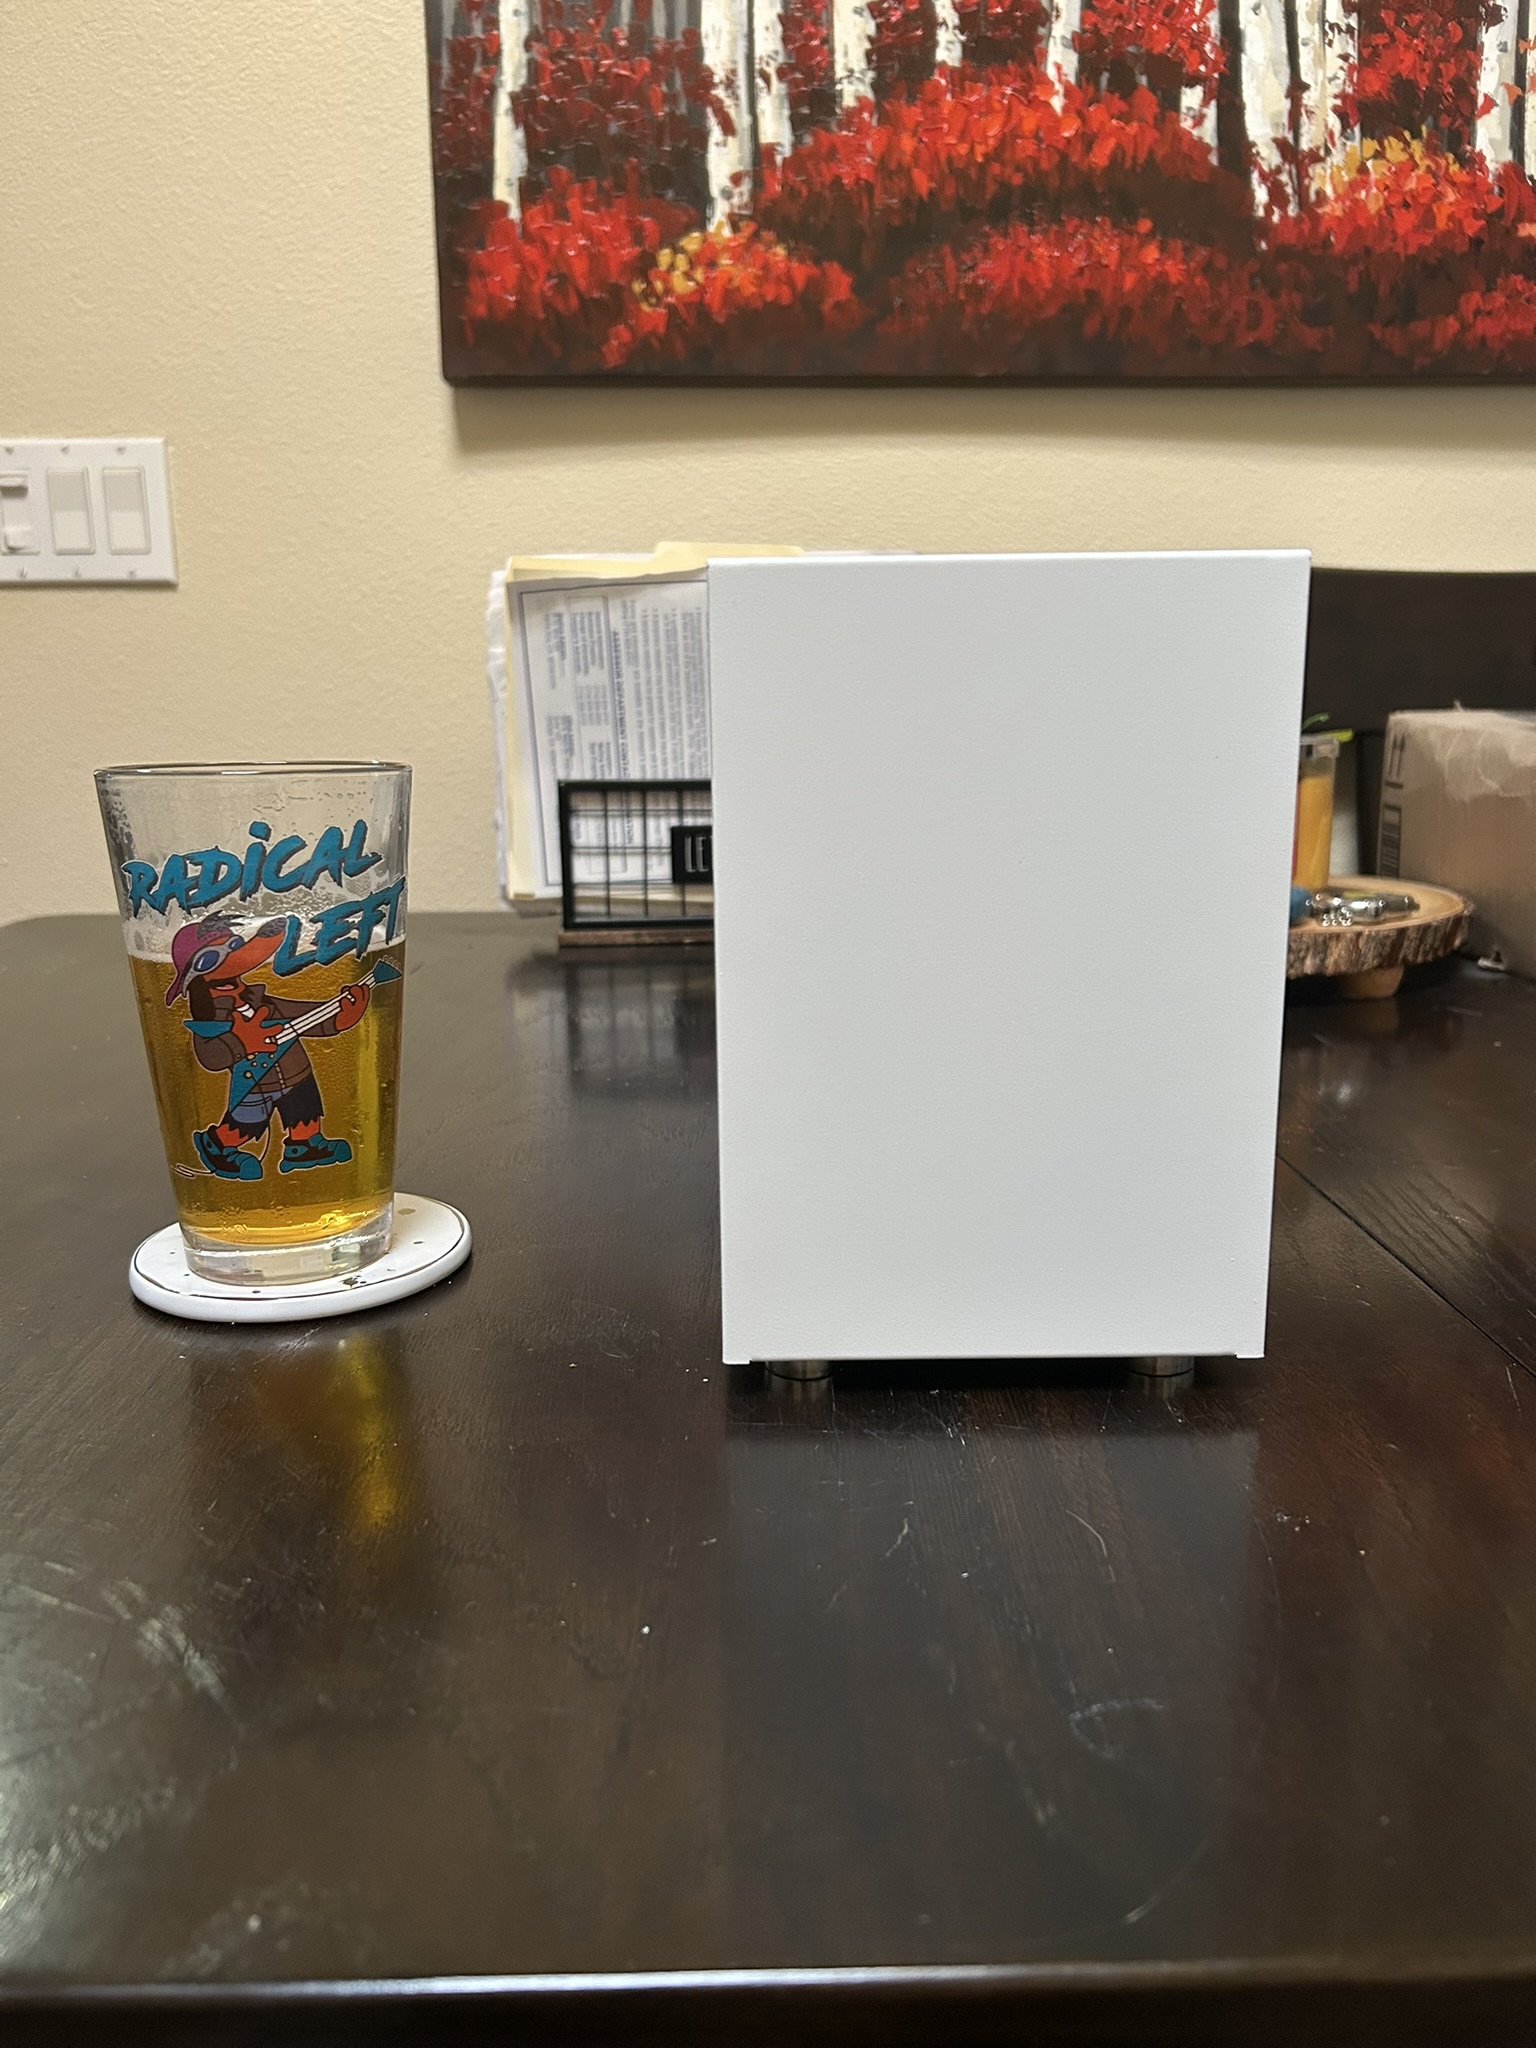
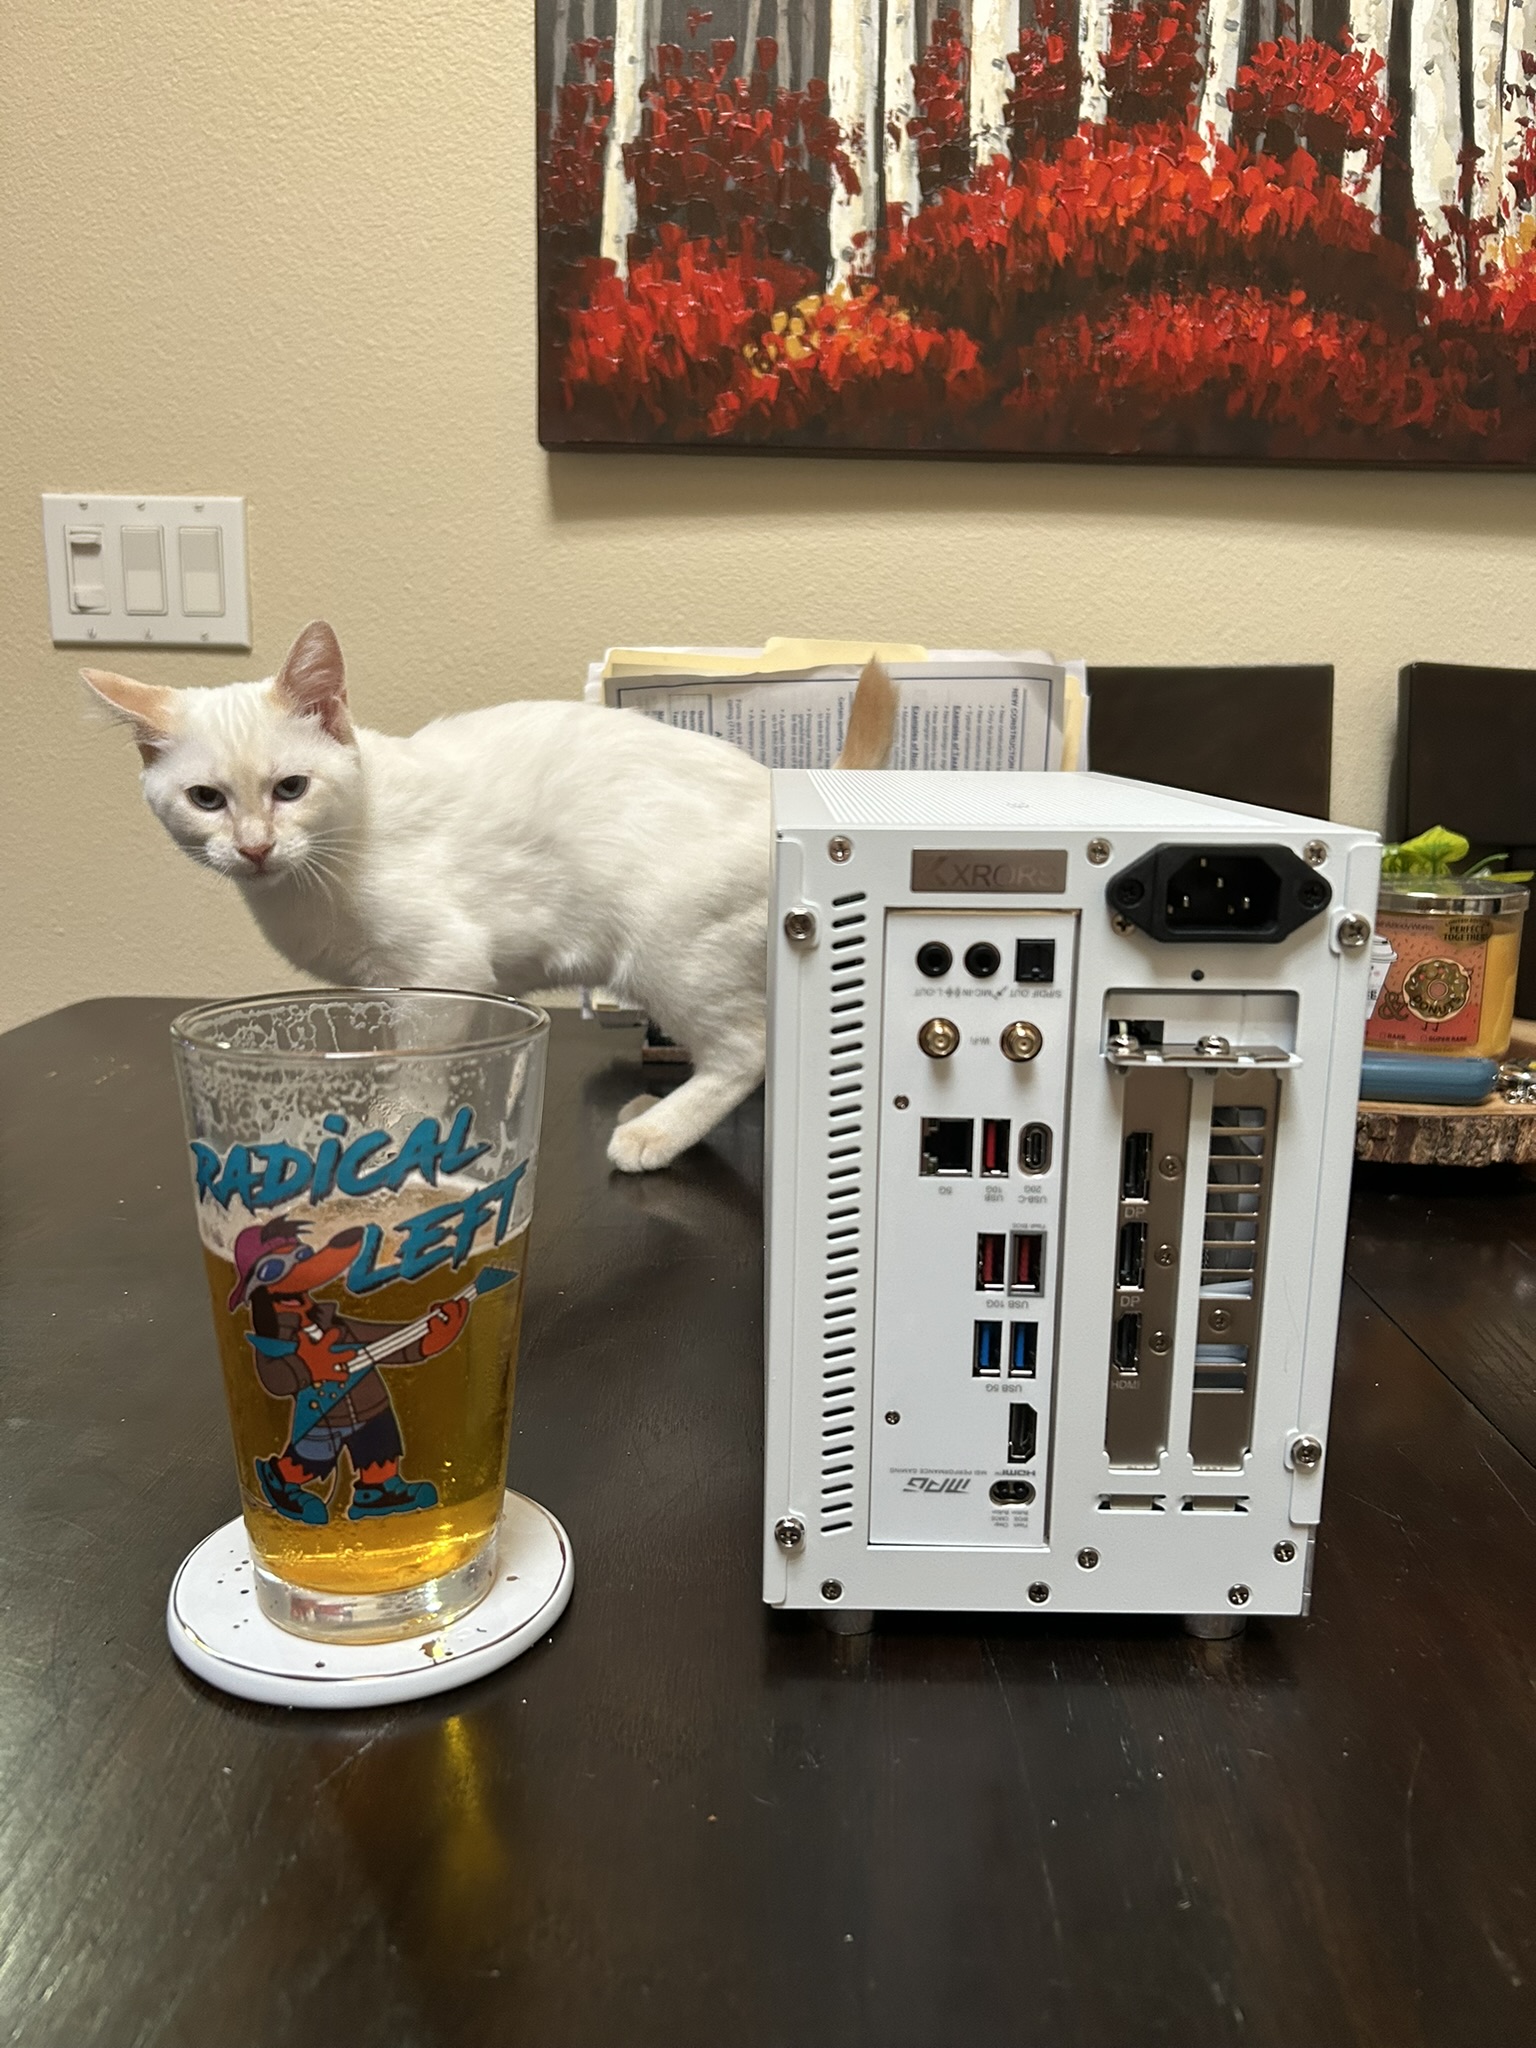
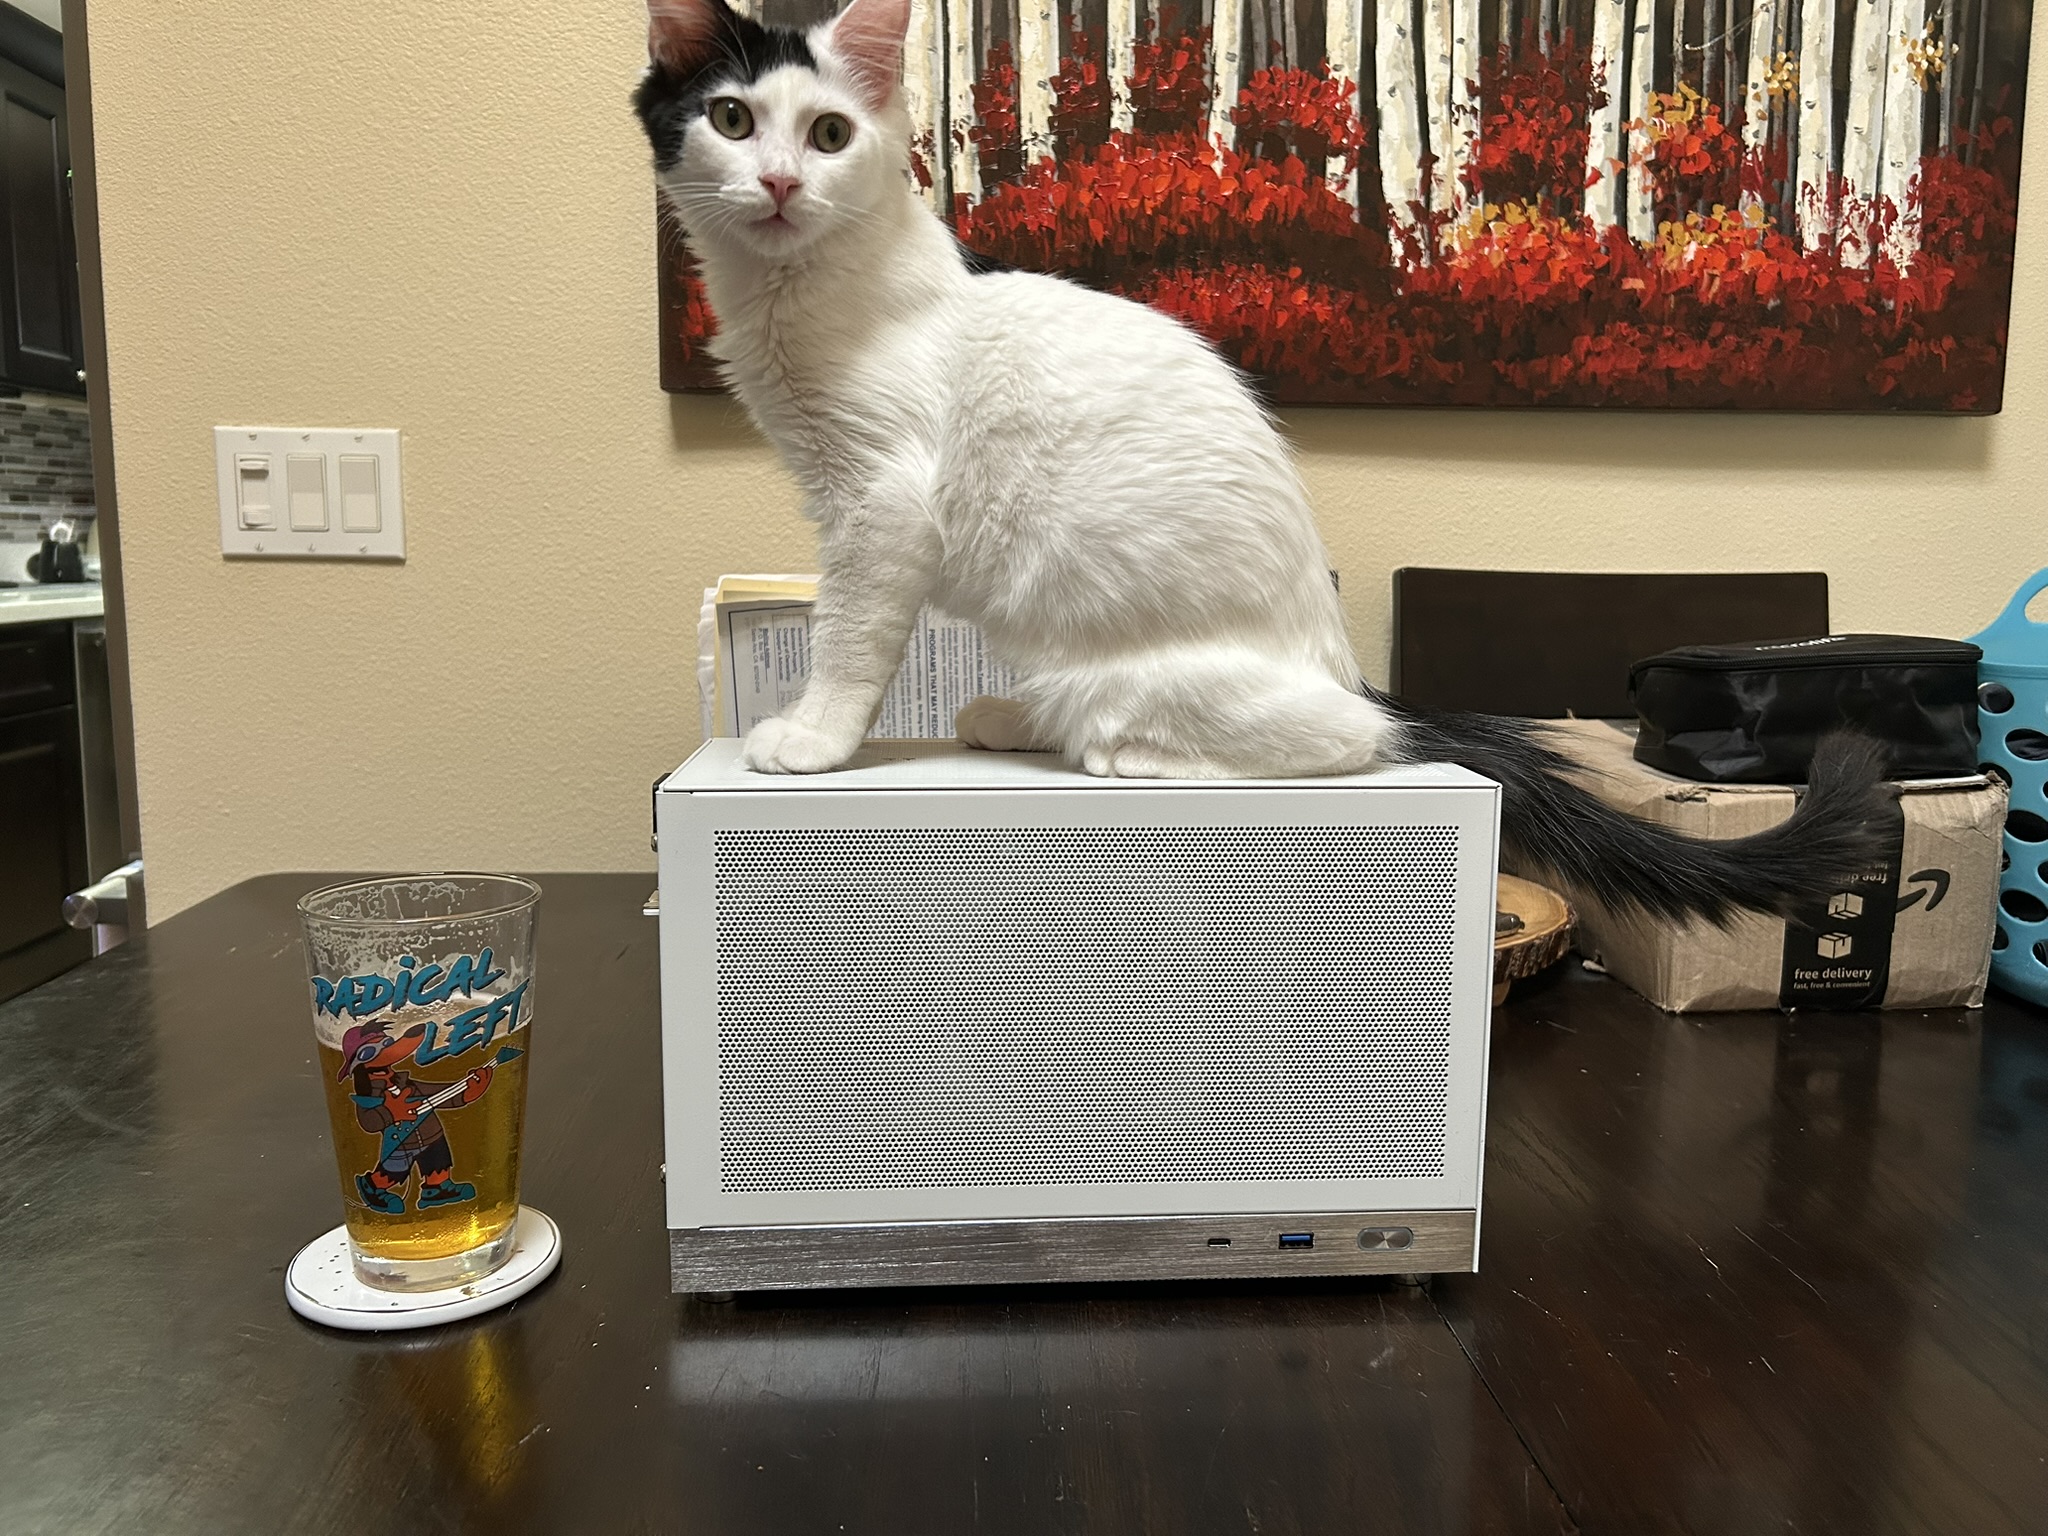
I tracked down an old monitor and hdmi cable, and hooked everything up to power. Pushed the power on button… and nothing. No PSU noise, no mobo lights, nothing. Now began the troubleshooting… using claude, I ran through a few of what it called “easy tests”. Things like trying to jump the board to life with a screwdriver on the PWR_SW leads (no dice), trying different PSU cables (no dice), and jumping the PSU itself with the “paperclip” trick — connecting a bent paperclip between the power on and ground nodes on the mobo cable (no dice). Thoroughly frustrated I sat there for a moment just… looking at the PSU… and noticed something I’d never happened across before. The mobo power cable had the normal 24pin side plugged into the mobo, but the PSU side only had 18pin… then I noticed the dangling 8pin connector on the same cable, not plugged in. Apparently, for SFX PSUs (smaller, made for ITX boards), the mobo cable is always split like that to conserve room. Uggggghhhhhh! What a noob! I plugged that in and we were booting into linux.
Speaking of linux, Valve makes it REAL EASY to grab a boot loader for SteamOS. Bring your favorite 16gb+ thumb drive and download the image. The rest of the steps are all laid out in the help article! It’s seriously that easy. Here’s a pic of my first day win condition:
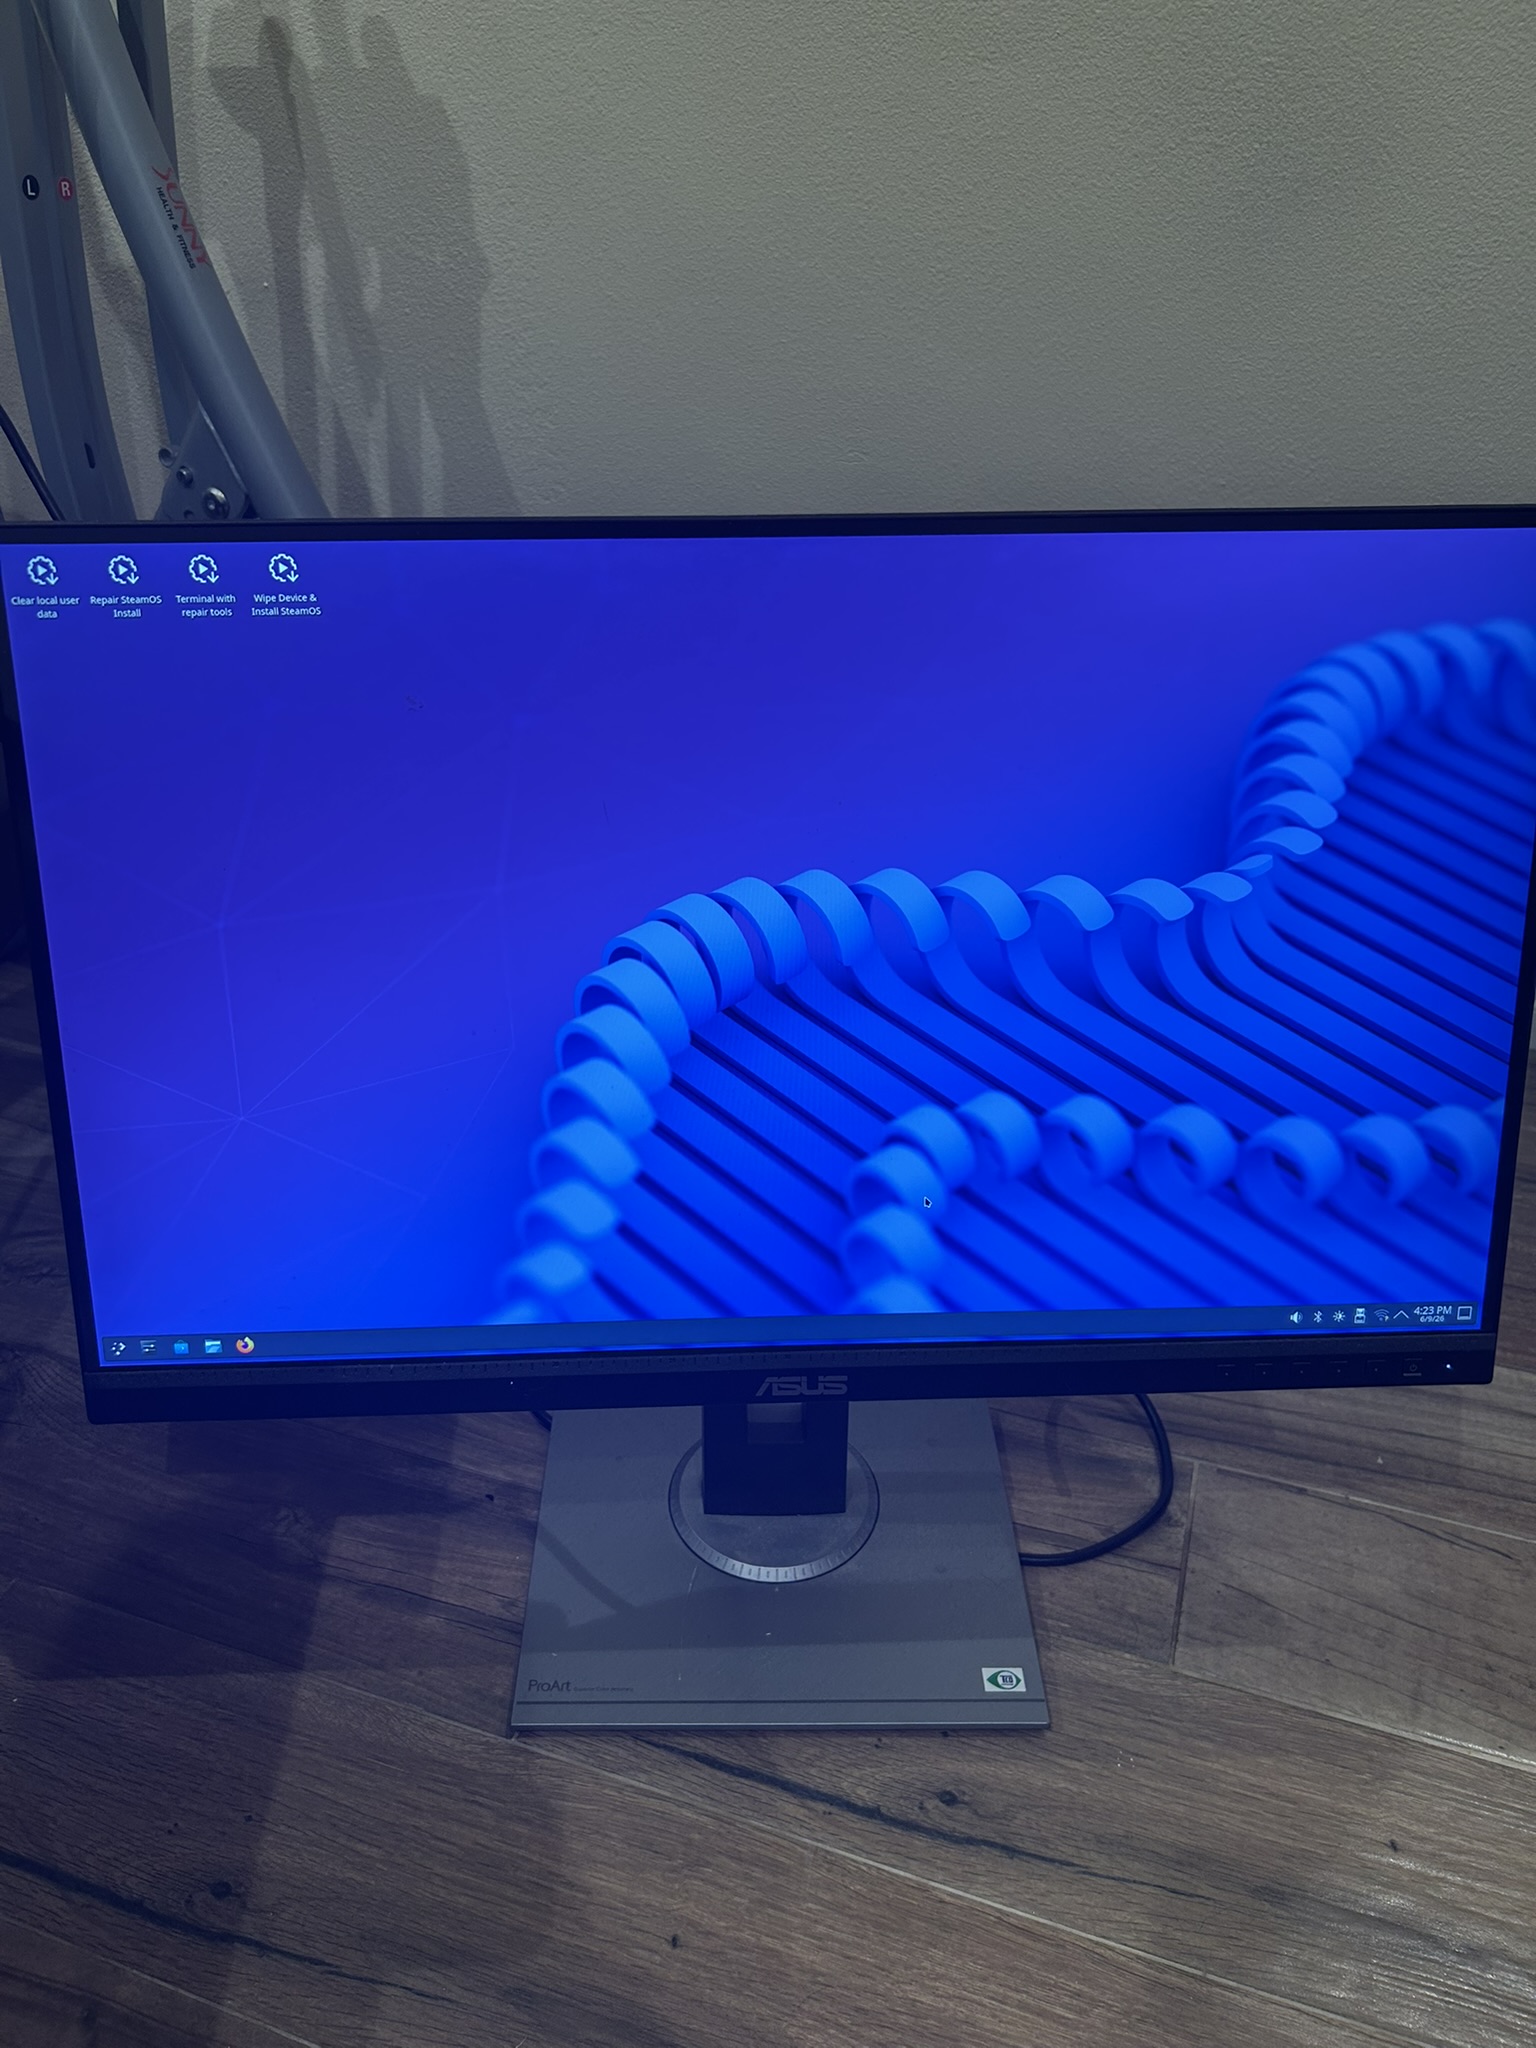
After I got my first boot into SteamOS, I was feeling pretty good about the progress I made, so I called it for the night and played some Hearthstone Battlegrounds, then watched some Mob Psycho 100 and went to bed.
The next morning I got up early and started putting the sides and top (back) on, and moved it over to the TV to do some testing and connecting the actual controller. I fired it up and it was just a black screen! I hard powered down, tried again. Same thing, all the fans came on, but just booted to a black screen with no indication anything happened (and USB wasn’t working either??!). So, I unplugged everything (including the TV), plugged in my nearby mouse, keyboard and the extra monitor from last night, and tried for the life of me to boot into BIOS before steamOS could load. I was able to, somehow! The keyboard and mouse were alive long enough for me to [DEL] key myself into BIOS I guess. So this was “working” in some fashion. I poked around settings like Allow USB to Wake, etc. I had already set the “critical” setting of PCIE Generation from Auto to Gen3 last night (this was recommended by the case manufacturer since the riser they included was a little older).
Fast forward hours later, and my symptoms were all over the place — I had reset CMOS, taken all the components apart and put them back together, used a different HDMI cable… and each time, I either got partially into SteamOS and then it froze, or it wouldn’t get there at all and just black screen. This was getting REAL frustrating. No consistent symptoms == no direct smoking gun. AI was no help and had me on way too many goose chases. We even chased down non-SteamDeck AMD / SteamOS possible issues — which apparently was a thing about a year ago! Then I decided to try plugging the GPU directly into the mobo… and to my awe — it worked and was stable! Huzzah! So what the hell? I plugged the riser back in, and plugged the GPU back into that, and then tried it again… and it borked. So, at least we now had some kind of cause: that damn riser cable. So, I shut everything down again, and went to BIOS. On a hunch I went back to that PCIE setting and to my surprise — was set back to “Auto”! Somehow during the time from the previous night to now, it had gotten unset. I set it back to Gen3 and fired the thing back up — success!! I was elated. Ok fine, it mysteriously got unset, ok. Whatever, it was working. I put everything back together yet again, and fired it up… to a black screen… ARGH! Hard shut off, keyboard back in, power back up into BIOS. And look at that… the PCIE setting was unset again! So I did some digging and it appears some mobos don’t like it when components are unplugged and plugged back in, and can reset settings like that. Since I had done that a dozen times, maybe that was the case? Or maybe it was when I tried clearing CMOS? I don’t know, and probably never will. I found a modern PCIE 5.0 cable on Amazon and it was there later that day. How awesome is slave labor and never ending consumption??!
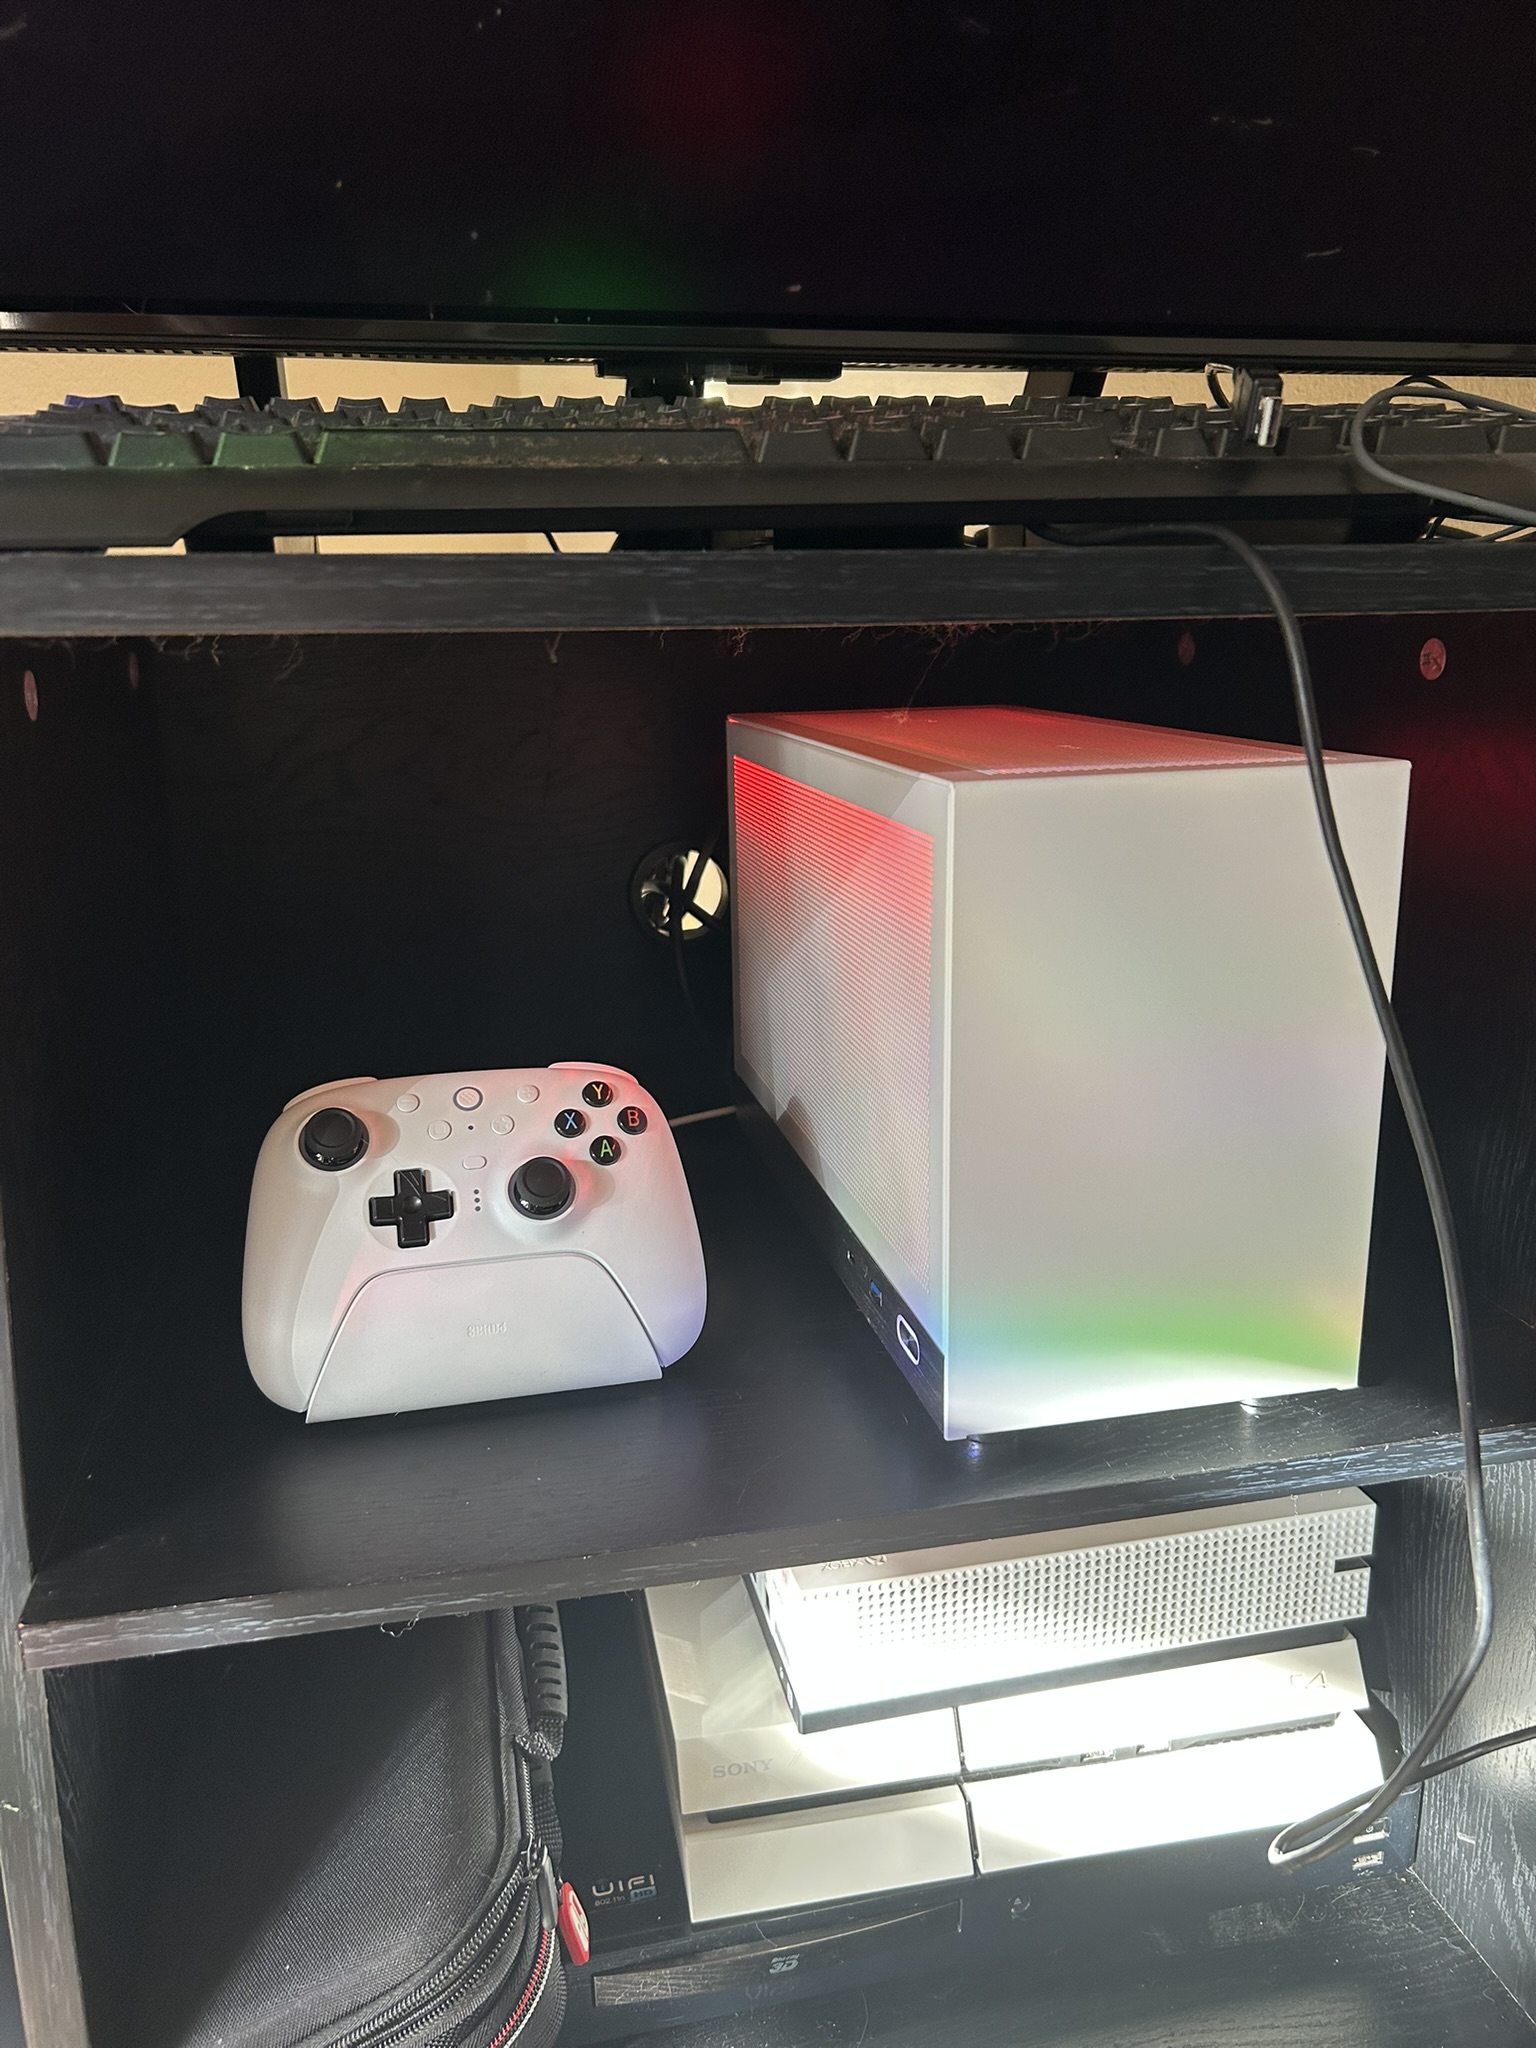
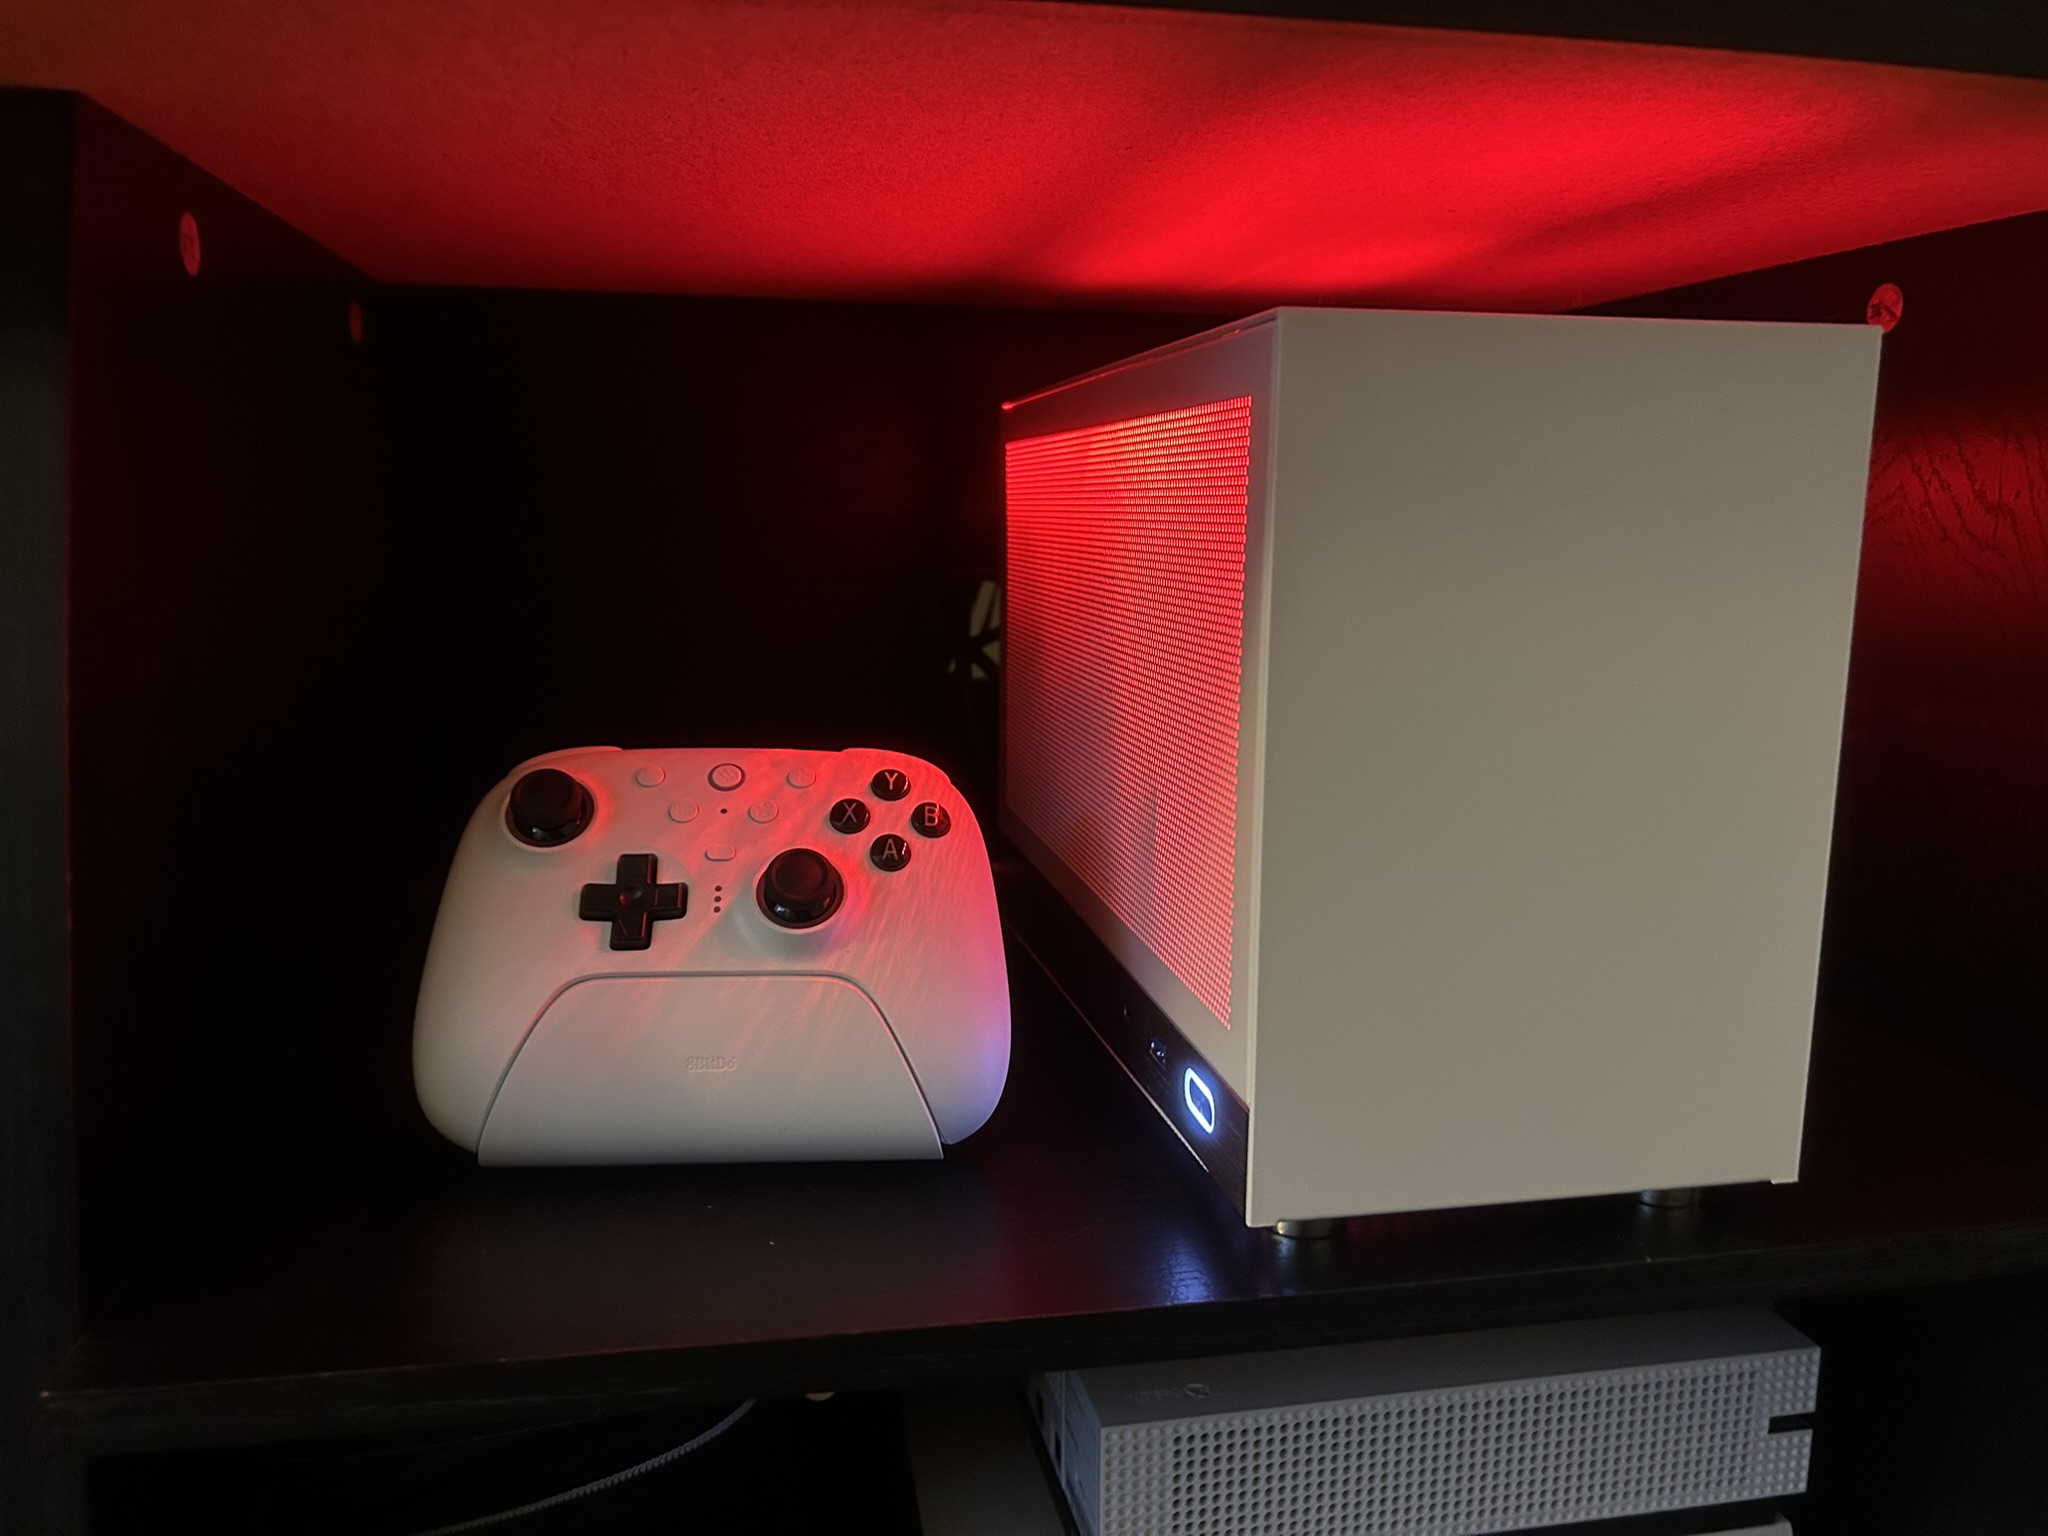
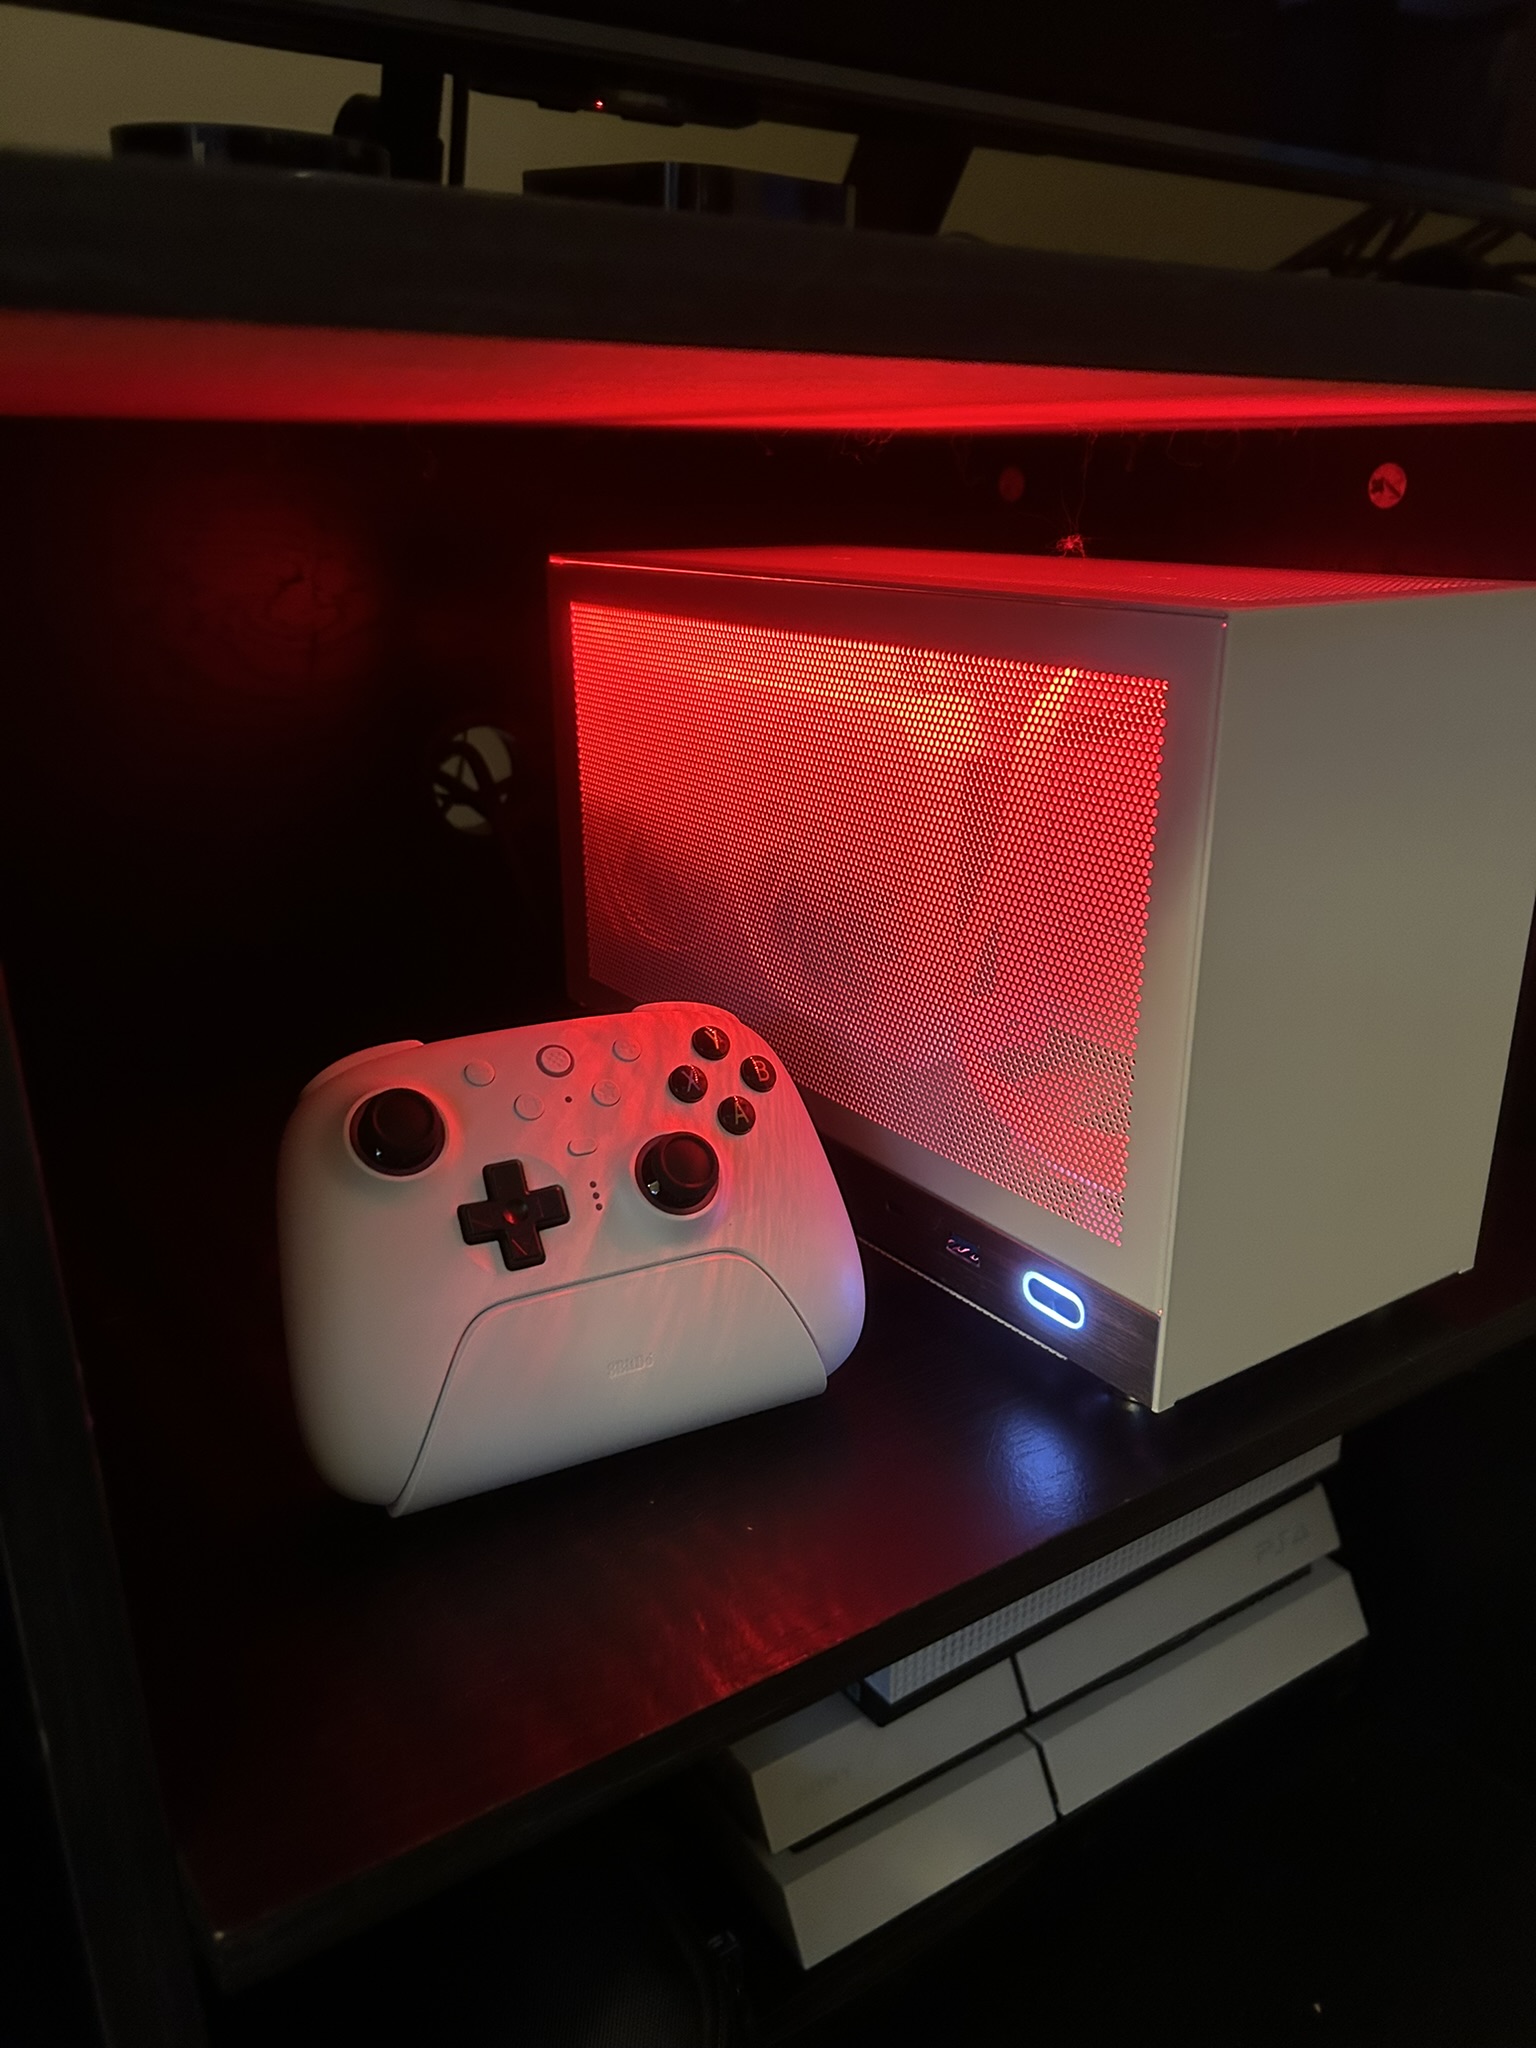
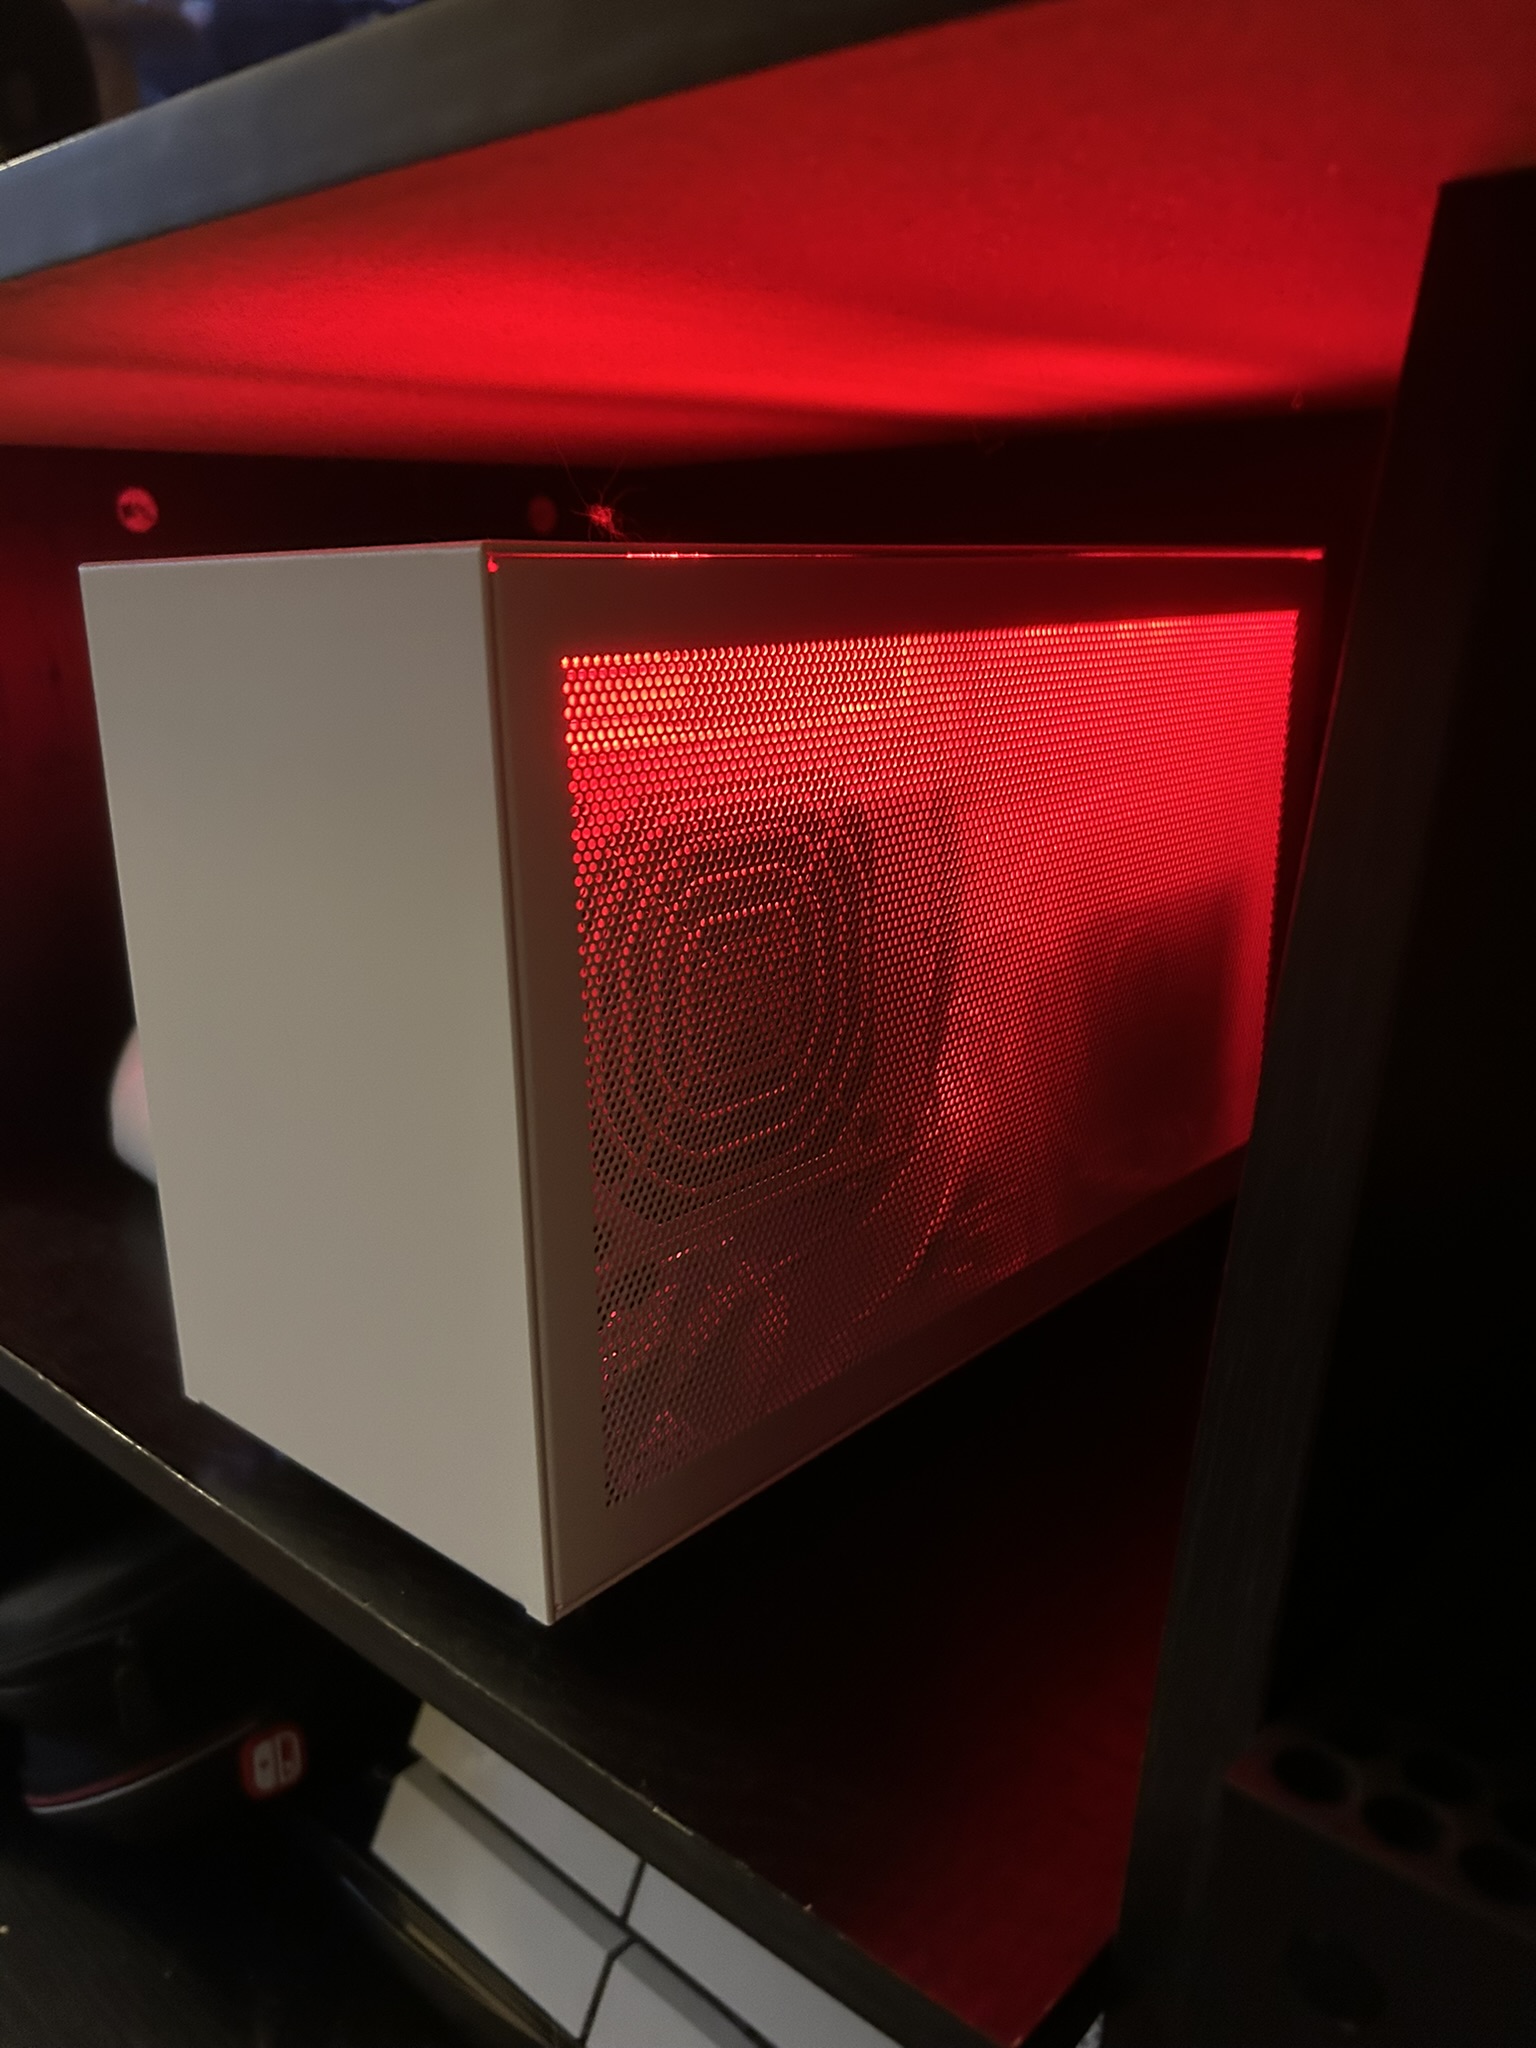
Once I got the cable in (it was also 5cm longer, which gave a little less tension) and reset the PCIE setting back to “Auto” (since this cable was 5.0), we were back in business. Everything finally stabilized. Who knew that GPU drivers crashing could cause complete system unresponsiveness or even boot failure? Now it was ready to show off — I plugged in my new controller and paired it, my partner helped out with major cable management / kitten proofing behind the TV, and we were ready to play some… I don’t really know. But it looked effing cool, that’s for sure >:)